How to Install Rubber Playground Flooring Tiles
By Created: March, 2024
Related Product: Blue Sky Interlocking Playground Tile Colors 3.25 Inch x 2x2 Ft.
But proper installation is key to a successful playground surface. Before you plan your playground, it’s essential to understand how to install rubber playground tiles for a quality result.
Rubber Playground Tile Installations

Installing rubber playground tiles is a time-consuming, multi-step process. If you’re building your playground from scratch, that process starts with ground preparation. It is important to know that grass and dirt are not a suitable base for rubber playground tiles.
How to Prepare the Playground Site
In very simplified terms, it’s important to create a playground site with optimal drainage. If your site naturally drains well and is higher than the surrounding area, you may be able to simply install retaining edges designed to let the water out.More likely, you will need to install a sub-surface water management system that consists of PVC pipes that are tied into the external storm water collection system.
Next, you must prepare the pre-sub-surface with a compacted, properly graded base. The sub-surface will also need to be installed. Solid surfaces, like concrete, are ideal, though you may be able to use an aggregate sub-base that is heavily compacted.
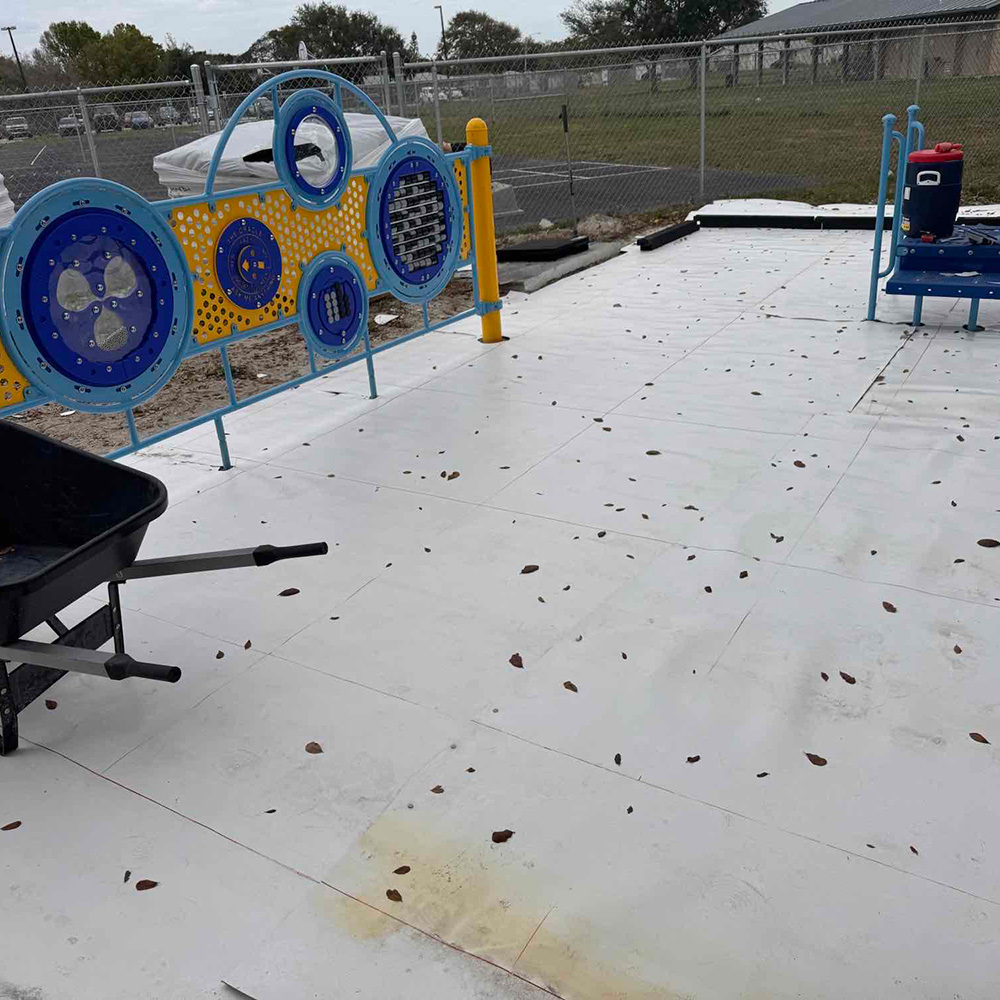
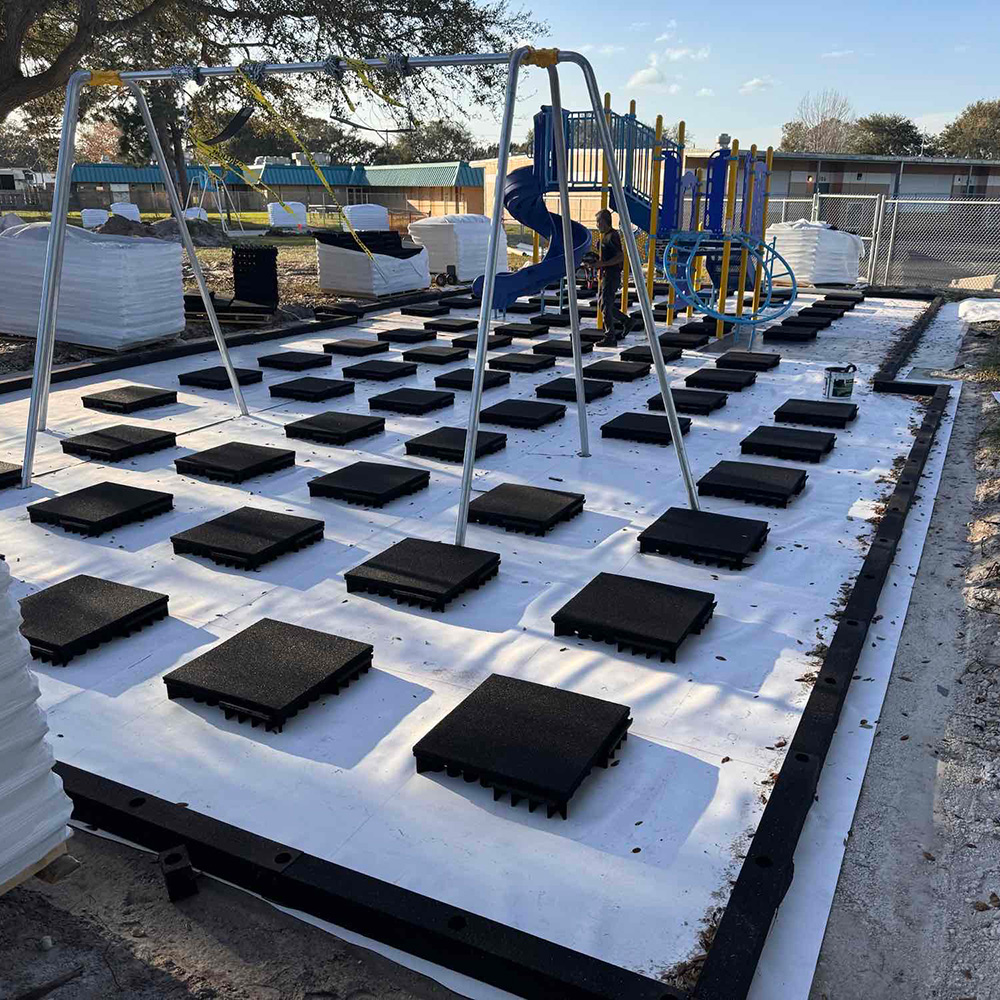
If you opt for a compacted granular sub-base, you will also need to install geo-textile fabric to prevent the particles from working their way into the bottom of the tiles.
How to Lay Rubber Playground Tiles

The actual process of installing rubber playground tiles is highly detailed. You will need to start by measuring your playground site and planning out the tile’s layout. You will also need to plan to cut the edge tiles to create a clean, finished edge.
When planning your tiles’ position, it’s essential to be precise. Layout inaccuracies can cause tiles to not line up well and can lead to shifting, gaps, and raised joints between the tiles. It also makes for a messy finished surface.
Since tile dimensions can vary slightly, you need to connect a row of tiles and measure the entire row before you start the installation. To create a balanced look, plan your installation so that you have equal dimension cuts on all four site sides. This measurement and layout process requires several measurements and the use of multiple string lines to ensure the layout is accurate.
Once you’ve planned your layout, you will also need to make sure that the corners are square. You may need to adjust your perimeter lines until you achieve square dimensions.
To adhere to the tiles, you will need to start with a dry and clean sub-surface. Any dirt or moisture can lead to bonding failure and issues with your playground surface.
Use the adhesive recommended by your playground tile manufacturer. Wait for optimal temperatures for the adhesive, which are from 60 to 95 degrees Fahrenheit, with 50% relative humidity. Lower temperatures and humidity extend the curing process.
Every tile design has different adhesive application methods, so refer to the manufacturer’s instructions. If you use too little adhesive or apply the adhesive in the wrong location of the tile, it can cause the locking system to fail. This may void your manufacturer’s warranty.
Tips for a Successful Playground Installation
It may be tempting to install playground tiles yourself to save money and time compared to hiring a contractor. However, it’s important to understand how to install playground tiles; this isn’t something your average person would know.The instructions above are highly abbreviated. The actual installation manuals for rubber tiles are over 20 pages long. The installation process requires a significant amount of equipment, as well as the expertise that comes with having performed numerous installations.
If you install the tiles yourself, you will be facing a highly tedious and time-consuming project, especially if you’re learning as you progress through the installation. If you make mistakes, they’re difficult or impossible to correct once the surface is installed. Those mistakes could result in issues with the playground surface, including tiles becoming loose. Improper installation could potentially void your manufacturer’s warranty.
A better option is to hire an experienced contractor who is knowledgeable in how to install playground tiles. You might pay more upfront for such a contractor, but chances are you will save money in mistakes, frustration, and time. You will also have the peace of mind of knowing that your playground surface has been installed correctly.


