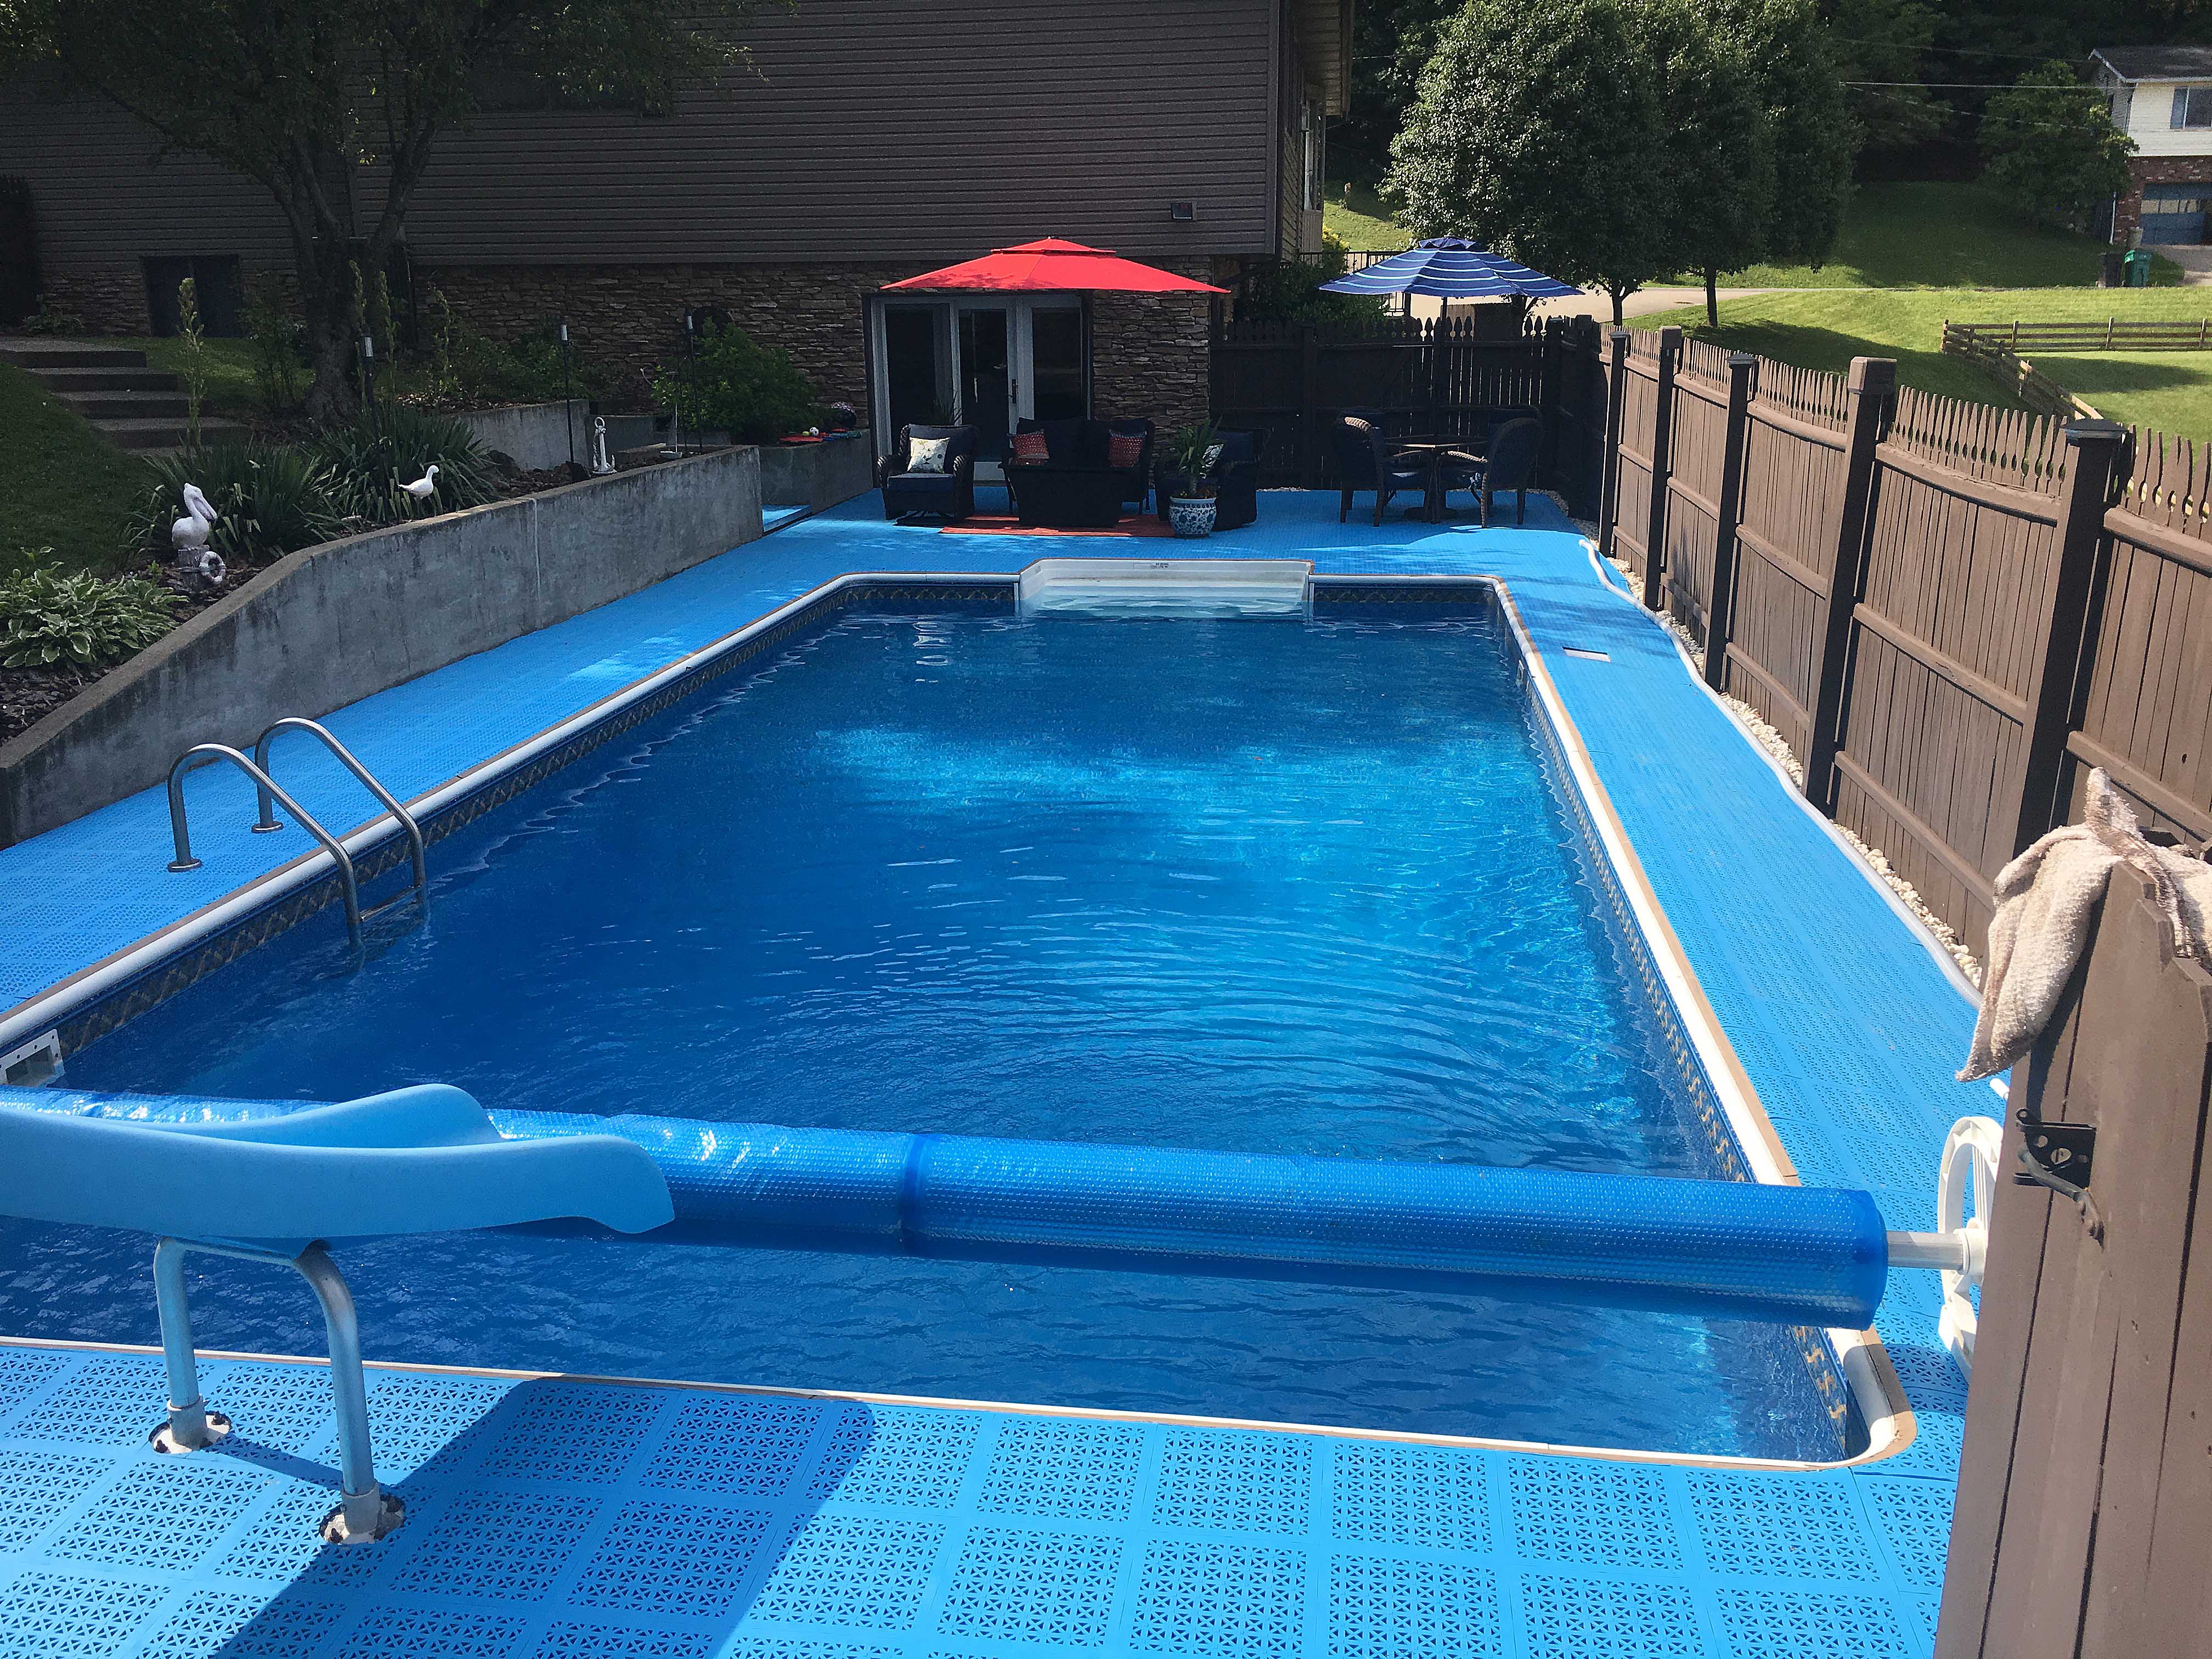
StayLock Perforated Indoor/Outdoor Flooring Tiles
Related Product: StayLock Tile Perforated Colors 9/16 Inch x 1x1 Ft.
Benefits of StayLock Tile Perforated
StayLock Perforated tiles combine comfort and durability suitable for both indoor and outdoor use. These modular tiles are made of PVC, and they connect together securely so they won’t separate over time. The tiles are flexible and are designed to be comfortable underfoot.Their perforated surface makes them ideal for use in wet areas. They have a fast-draining design that helps to prevent water from pooling on the surface, increasing the safety of an area like a pool surround or patio. The tiles are waterproof, ensuring a durable performance.
StayLock Tile Perforated also has essential safety benefits. The tiles have a non-slip surface and have a 20-inch ASTM fall height rating. They can help to reduce potential injuries, making them a top choice for use in wet areas where the chance of a slip or fall is increased.
While the tiles are cushioned and comfortable underfoot, they’re also strong and durable enough to hold furniture. Patio furniture like tables and lawn chairs with legs bases larger than 1.5 inches in diameter is the best choice for use with this flooring.
The tiles are also conveniently sized. They measure 9/16-inch thick and are 12 by 12 inches large, so they can quickly cover a larger area. The tiles weigh 1.25 pounds each, making them easy to carry to an installation site.
They’re available in an assortment of colors, including black, blue, green, light gray, terra cotta, and tan.
Uses for StayLock Tile Perforated
These tiles are ideal for many different uses. Consider them for installations on:- Decks
- Rooftops
- Pool surrounds
- Wet areas
- Outdoor play areas
- Spas
- Patios
- Showers
- Greenhouses
- Kids’ play areas
- Indoor industrial locations
- Portable walkways
- Gym locker rooms
Installing StayLock Perforated Tiles
These modular tiles are designed to be easy to both install and remove. They can be installed on top of hard, flat surfaces, including roofing membranes. The tiles are equipped with rounded edges on their underside, minimizing the chance that they would damage the membrane. Because they’re conveniently sized and have minimal weight, one person can perform an entire installation.You can easily install the tiles by connecting them together as you go. If you need to trim them to fit a wall or around an obstacle, you can use a straight edge and a sharp utility knife. Make repeated shallow scores to gradually work your way through the tile.
If you’re performing a wall-to-wall installation, it’s best to leave a ½-inch gap on each side to allow the tiles to expand and contract with weather changes. Start in one corner and work your way out, connecting each tile as you go.
Border pieces are available and can create a clean, finished edge that’s attractive in both wall-to-wall and island installations.
If the tiles are no longer needed, or if you need to temporarily remove them, they easily disconnect. You can put them into storage and then reinstall them when needed. There’s no adhesive required for the installation, so it’s also possible to replace just one or two tiles if needed. If the tiles become damaged or worn, the cost of replacing that specific section will be less than what you would have to pay to replace a larger piece of flooring. This makes it easy to ensure your flooring continues to look great for years to come.


