How Do You Cut Patio Flooring?
Related Product: Patio Outdoor Tile 1/2 Inch x 1x1 Ft.
What Tools Do You Need To Install & Cut Patio Flooring?
Regardless of the product you choose, you want to be sure you have all of the appropriate materials you will need to install and cut the tile. Typically you’ll need a tape measure, pen or marker, straight edge, cutting board, and appropriate cutting tool like a sharp utility knife with extra blades. When you take your time to use these materials, the resulting cut lines and edges will be clean and smooth and provide a tight fitting floor.In some instances, a power saw may simplify the process, but that’s not always the case - especially with rubber products.
The Install & Cutting Process
Before thinking about cutting, you will want to follow the instructions for preparing the concrete or wood surface over which the flooring will be installed. Allow plastic or rubber patio flooring to acclimate to the space for a day or two. Then, begin the installation.- Install the majority of the flooring, following the manufacturer’s instructions. When you reach a point where you cannot fit any more full tiles, you are ready to cut.
- Measure the distance between the installed flooring and the wall (or other object you are butting the tile up to). Then, measure the same distance on the tile that you will be cutting. (Make sure to read the manufacturer’s instructions and notations regarding any room needed to be allowed for expansion).
- Mark the distance with your marker or pencil to distinguish the cut line.
- Place your straight edge on the cut line, applying pressure on it to keep it in place.
- Using your utility knife, make a series of scores for a clean cut edge. (For thicker tiles, cut most of the way through, then make a fold in the tile and finish cutting it by following the fold on the opposite side of the tile)
- If you are cutting PVC plastic or thick rubber, you will want to place a 2x4 board under the cut line and allow the tile to hang over the board. As you score the tile, the cut will continue to open until you are completely through it.
- Now, simply lay or install your cut tile to finish the installation process. It’s that simple!
What Patio Flooring Options are Easy to Cut & Install?
Although there are many ideas for you to browse and explore at Greatmats, the following 3 options are among the best DIY solutions that are easy to cut:These products are among the best on the marketplace, and they will provide outstanding quality on a deck, patio, or other outdoor space. Aside from being easy to cut and install using the aforementioned process, they also offer a number of great features and benefits.

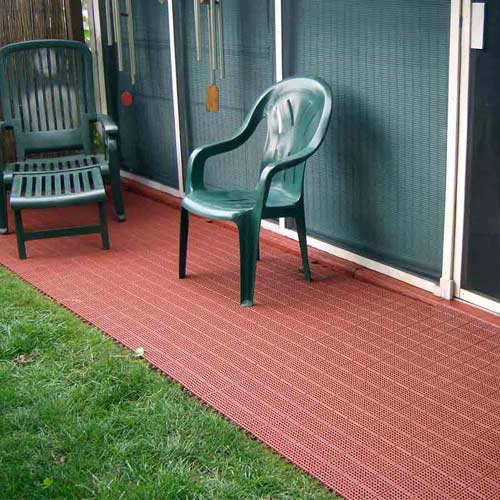
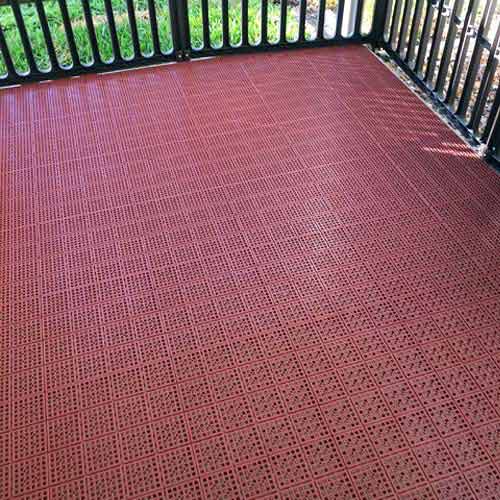
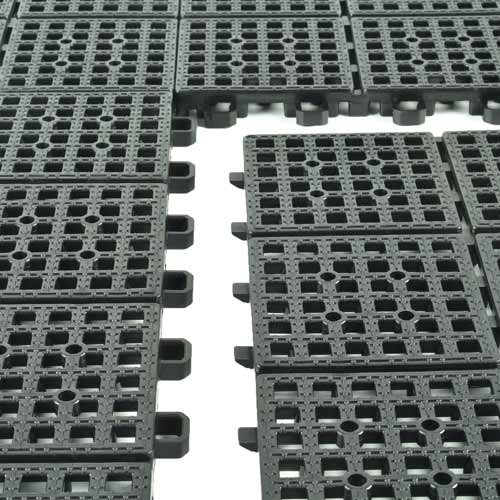
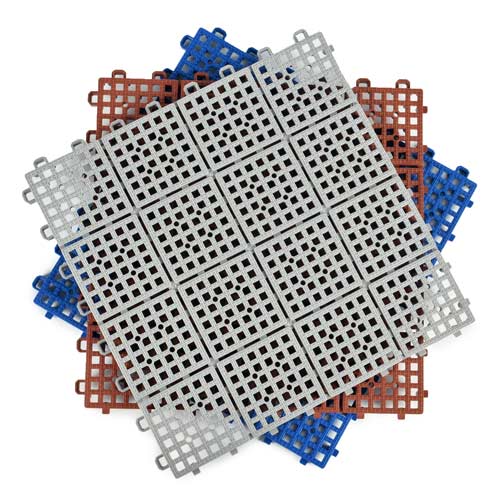
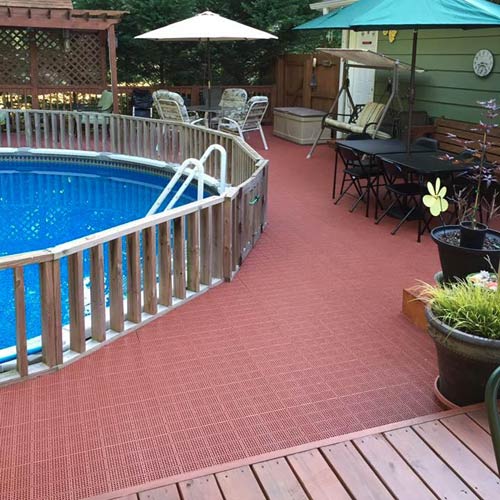
Patio Outdoor Tile is a lightweight PVC product that is known for its fast-drying, non-slip surface texture that offers a comfortable footing on which to stand or walk. They offer a safe wet area, because when the tiles are wet, they will drain quickly and easily to prevent growth of mold and mildew on your patio. The tiles have been UV treated, and they are simple to install using a quick, snap together process.
This is one product where a power saw may offer a faster and easier cutting solution than a utility knife. Just make sure to keep plenty of extra blades on hand.
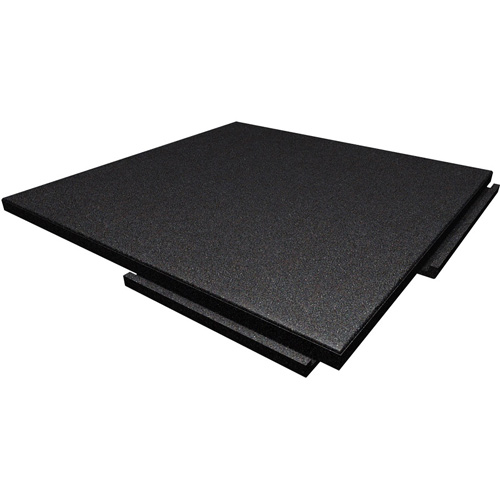
 2 Inch Sterling Rooftop Tile is a product that is super easy to install and cut, and it delivers so many benefits. It will endure extreme temperatures without cracking or shrinking, and they are designed to endure heavy patio furniture and other objects. The tile is simple to install, as it includes edges that interlock for a dry lay installation. Alternatively, they can be glued down for a permanent patio installation.
Each one is 2 feet by 2 feet and 2 inches thick, so the utility knife cutting method over a 2x4 will save you a lot of headaches. Just remember to have that straight edge and locking utility knife with replacement blades to maintain a sharp cutting edge.

