How to Assemble Storage Rack for Vinyl Gym Floor Covers
Related Product: Safety Storage Racks 10 Rollers
Read the instructions before assembling and using the storage rack.
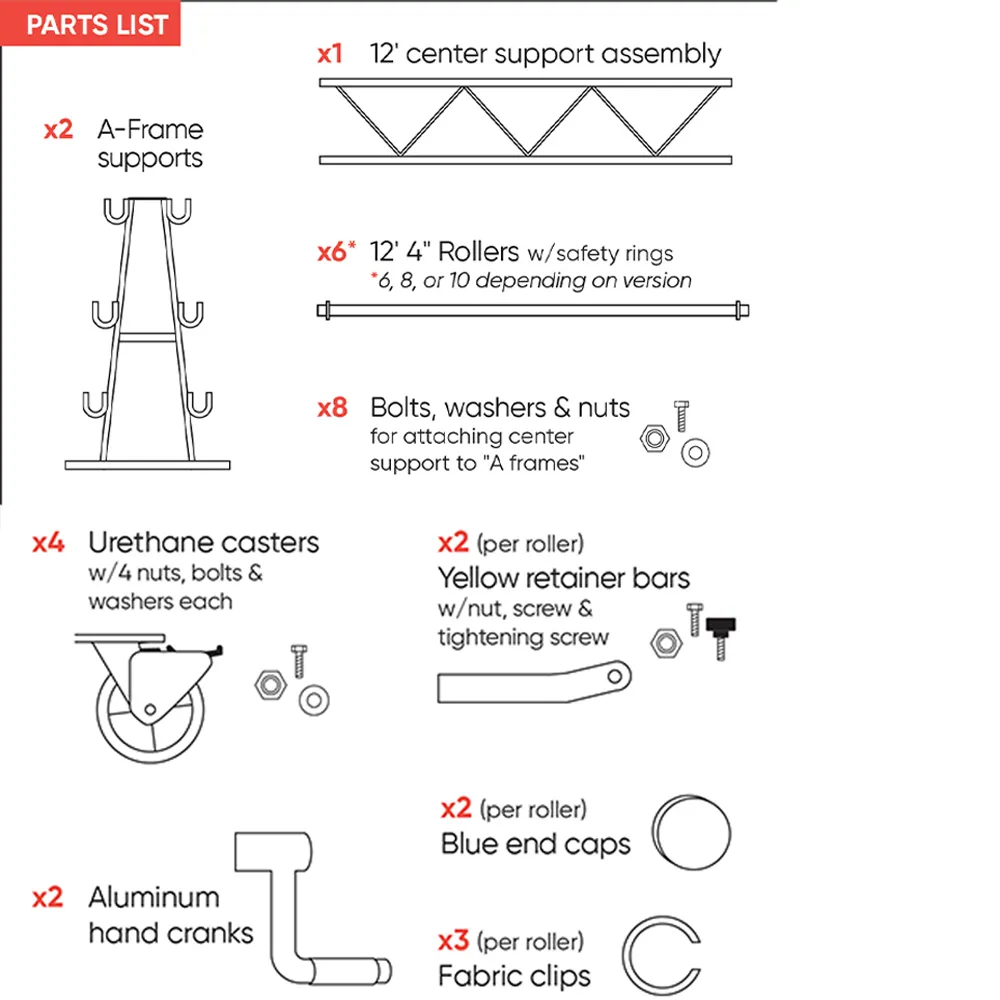
Assembly of Storage Rack
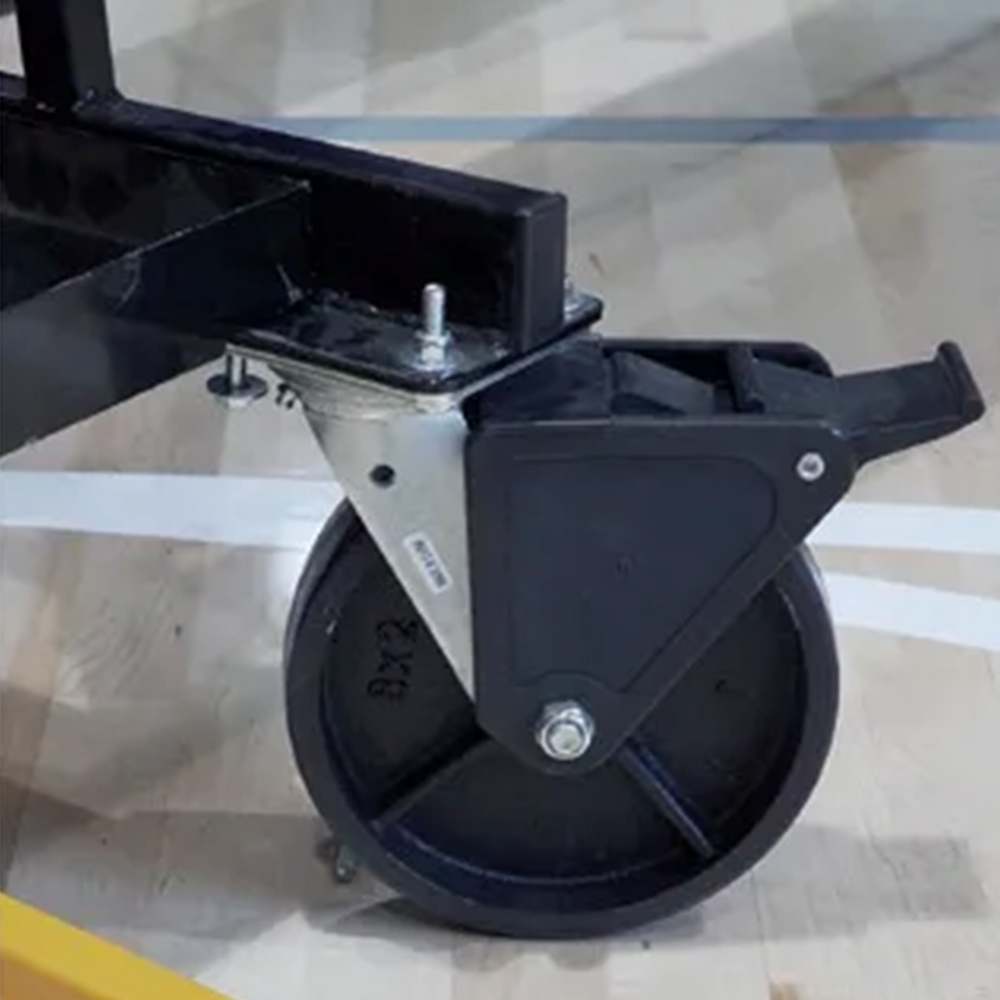
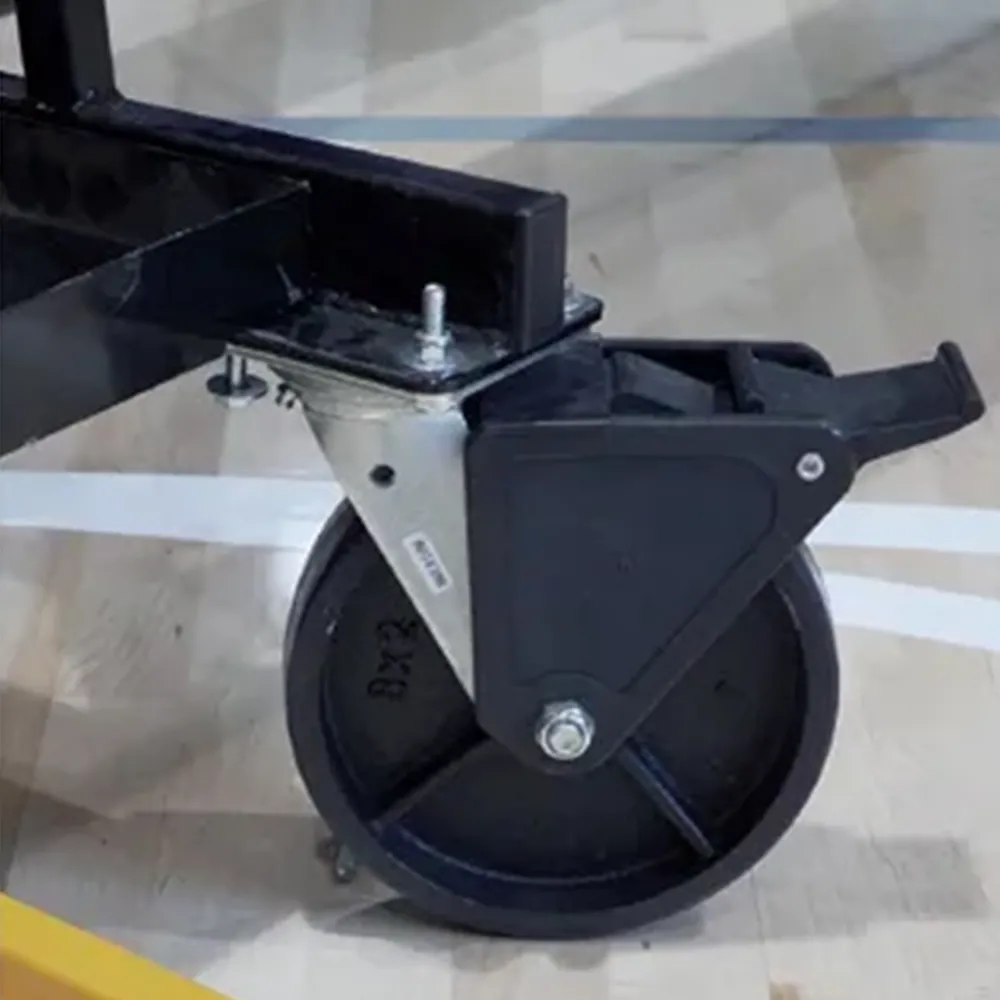
Step 1: Attaching Casters
Attach the 4 casters (wheels) to the plates at the base of each A-frame support. The bolts are already loosely inserted.
Note: If you have purchased the optional brush assembly, the two interior bolts have their threads facing up. The brush assembly fits over these threads and is attached with the provided wing nuts.
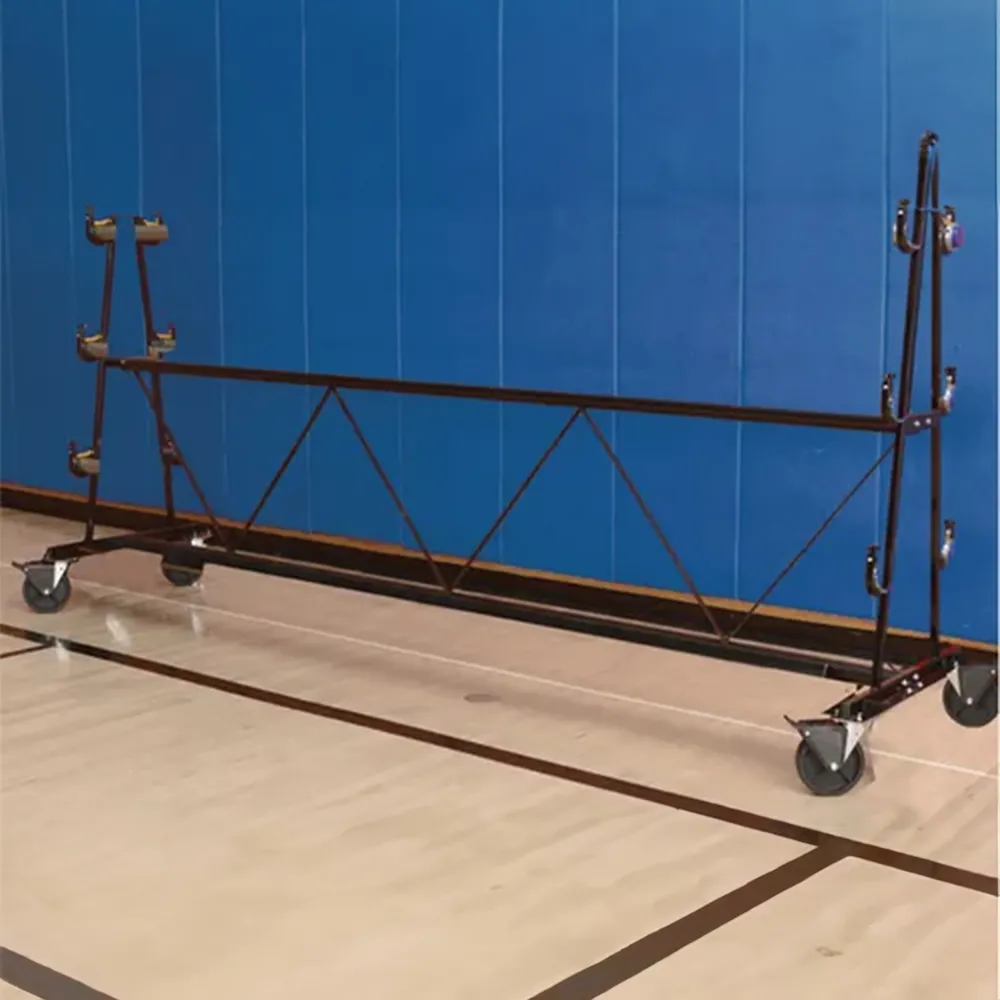
Step 2: Attaching Supports
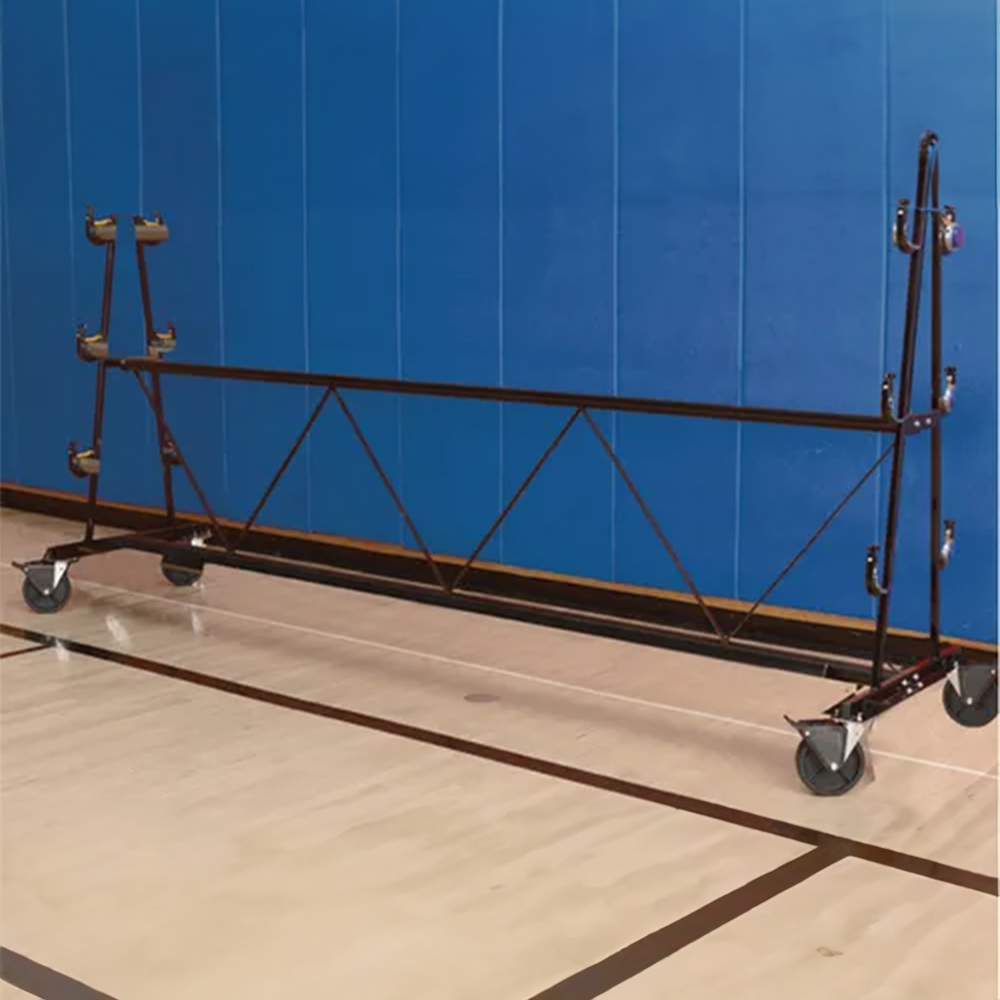
Attach A-frame supports (x2) to the center support assembly with the bolt, washer, and nut. There will be 4 bolts, washers, and nuts per side.
Step 3: Placing Rollers
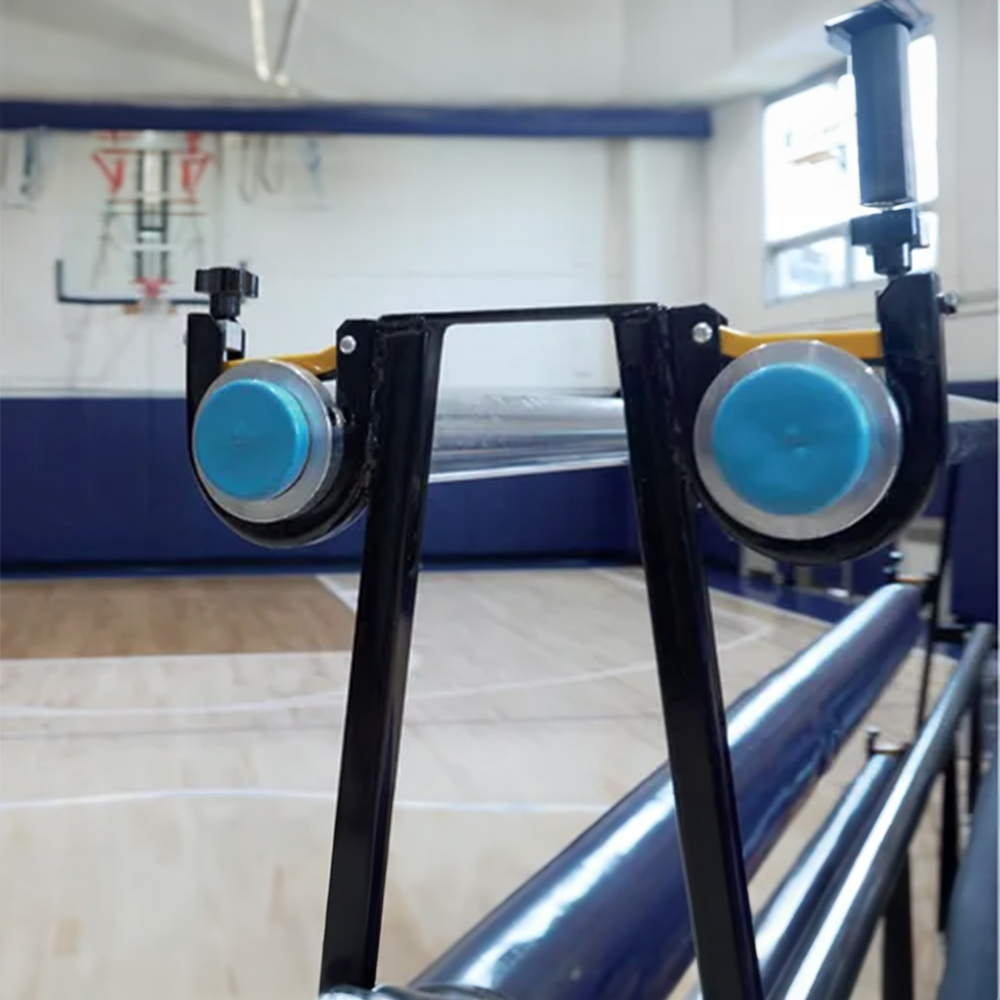
Place rollers onto each set of cradles on the A-frame supports so that the round safety rings on each end are placed on the outside of the cradles. When installed correctly, the pipes should spin freely in the cradles.
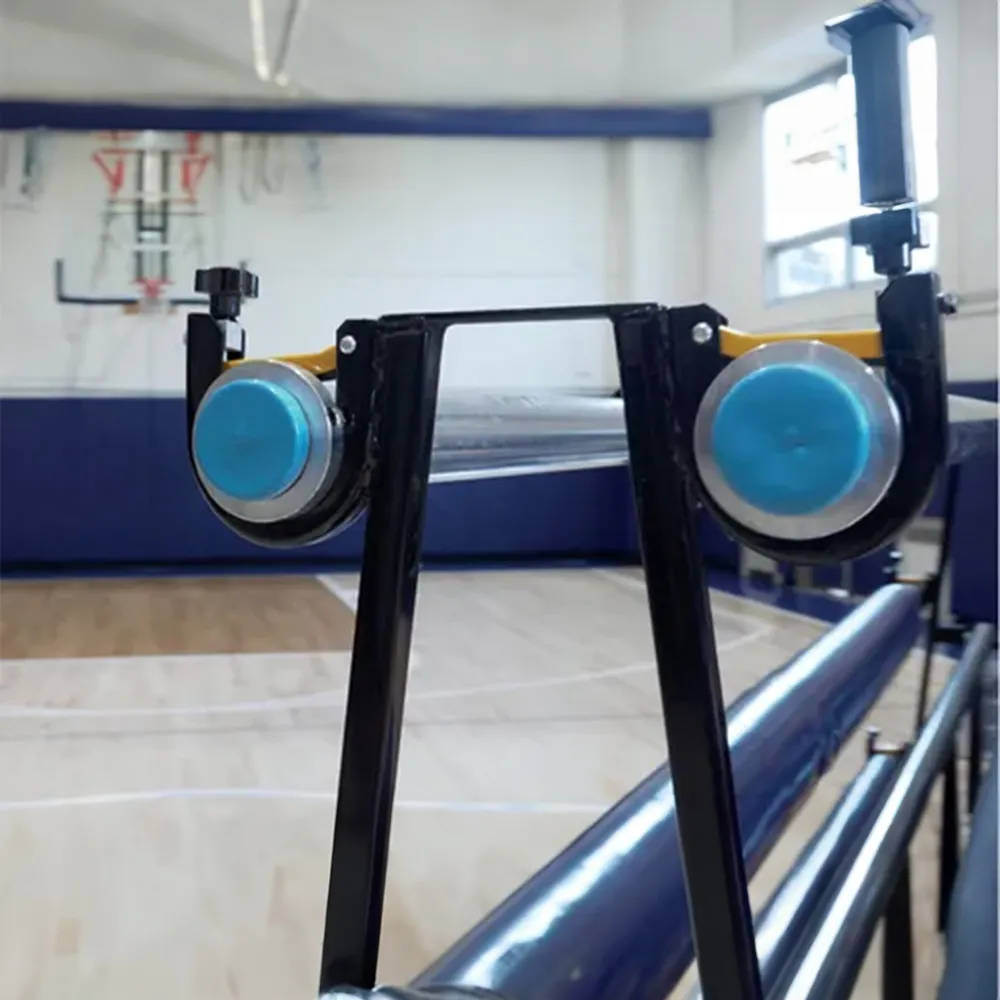
Step 4: Adding Retaining Bars
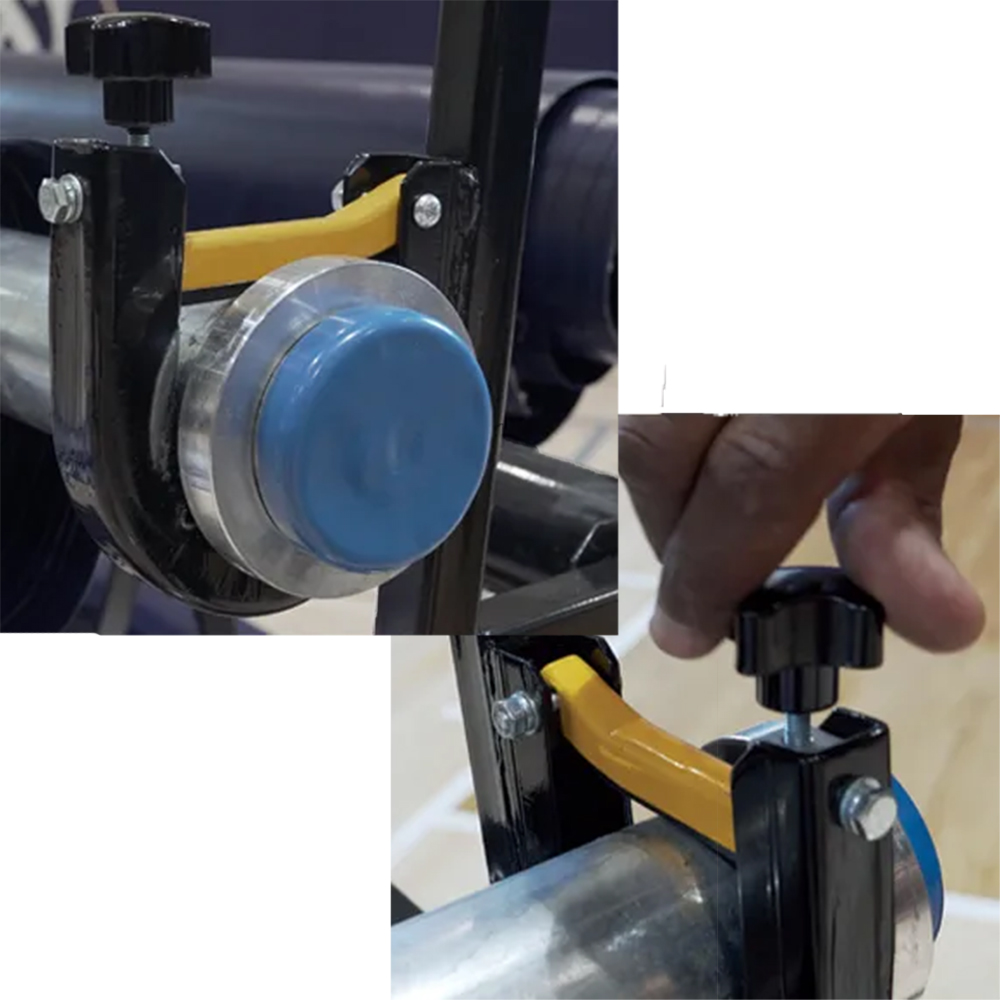
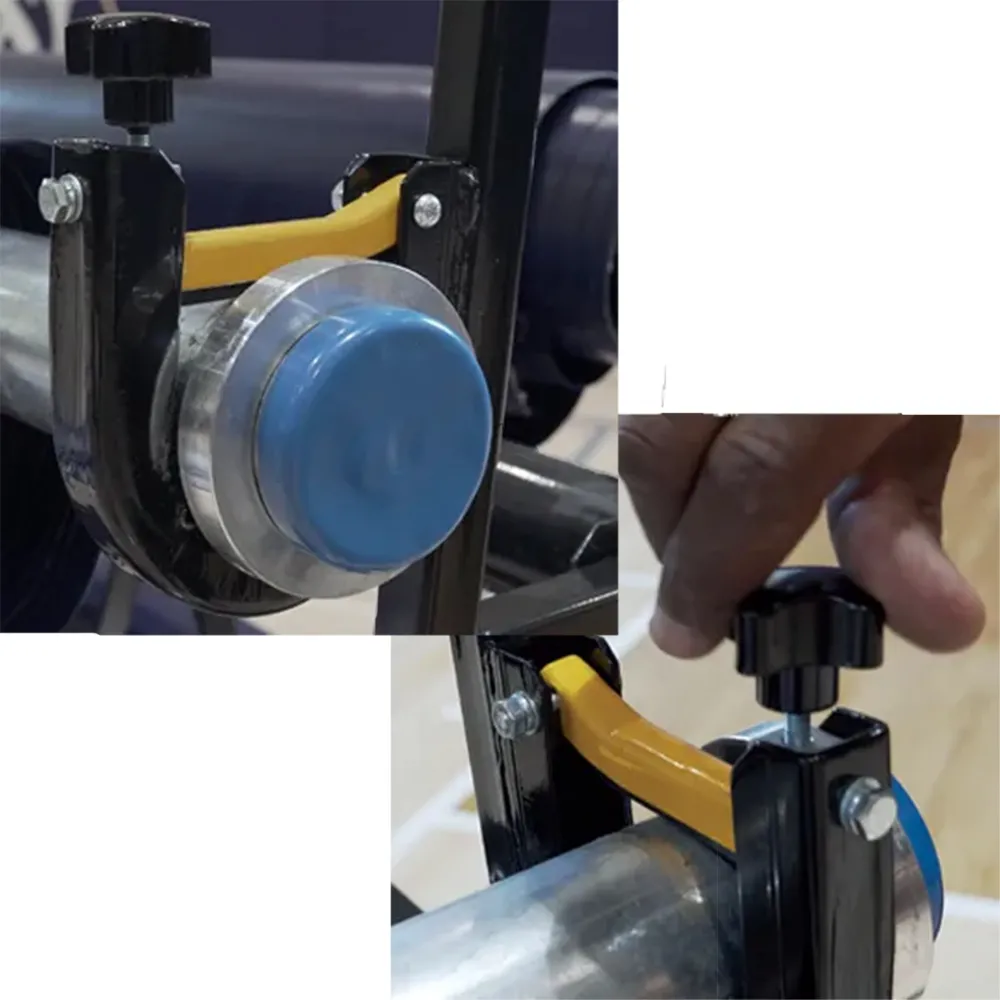
Install yellow retaining bars onto cradles. Tuck the straight end of the yellow retaining bar under the tightening block at a slight angle. Slide down into place. Once properly aligned (holes match up), attach retaining bar with a nut and screw (1 per clip).
The retaining bar keeps the roller in the cradle during use. The set screw above the retaining bar helps prevent the roller from unwinding during the transport or other movement.
Note: Make sure the tightening screw is loosened enough prior to the operation of rolling out or rolling up the cover. The roller should move freely during operation.
Attaching Hand Cranks
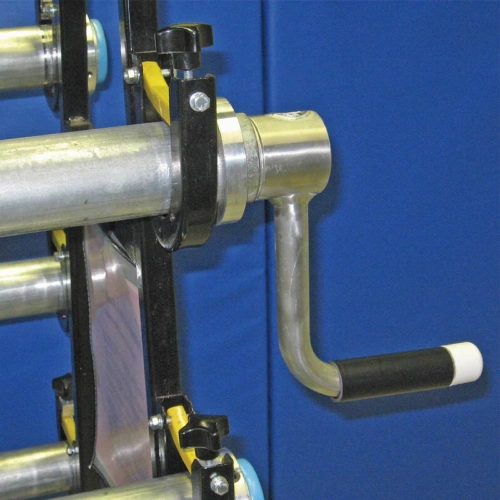
Two hand cranks are included with each storage rack. You can also upgrade to an electric power winder for faster and easier storage and deployment of the covers.
To attach the hand cranks or power winder, remove the blue plastic end caps on the roller.
Optional Brush Assembly
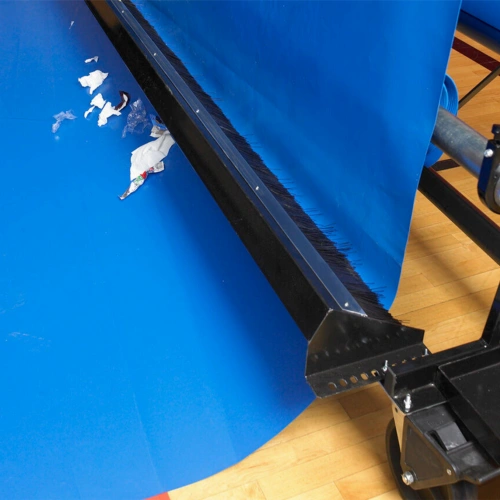
As stated in step 1, there are two interior bolts on the A-frame support to attach the brush assembly with wing nuts.
The brush assembly is adjustable. By using the holes out to the farthest point on the edge of the rack, there will be less friction during wind-up.
If you have narrow doorways, the brush can be stored 'inside' the wheels by moving the brush assembly using the holes towards the center of the rack.
If you want to clean the gym floor cover of debris after an event, start the winding process by placing the vinyl cover under the brush head first then onto the roller.
Keeping the Storage Rack in the Best Shape
To keep rollers from bending, do not allow anyone to lean, sit, or place heavy objects on the rollers. The rollers will bend if concentrated weight is placed on them. Bent rollers may not be safe for use.

