How To Install G-Floor Garage Flooring Rolls
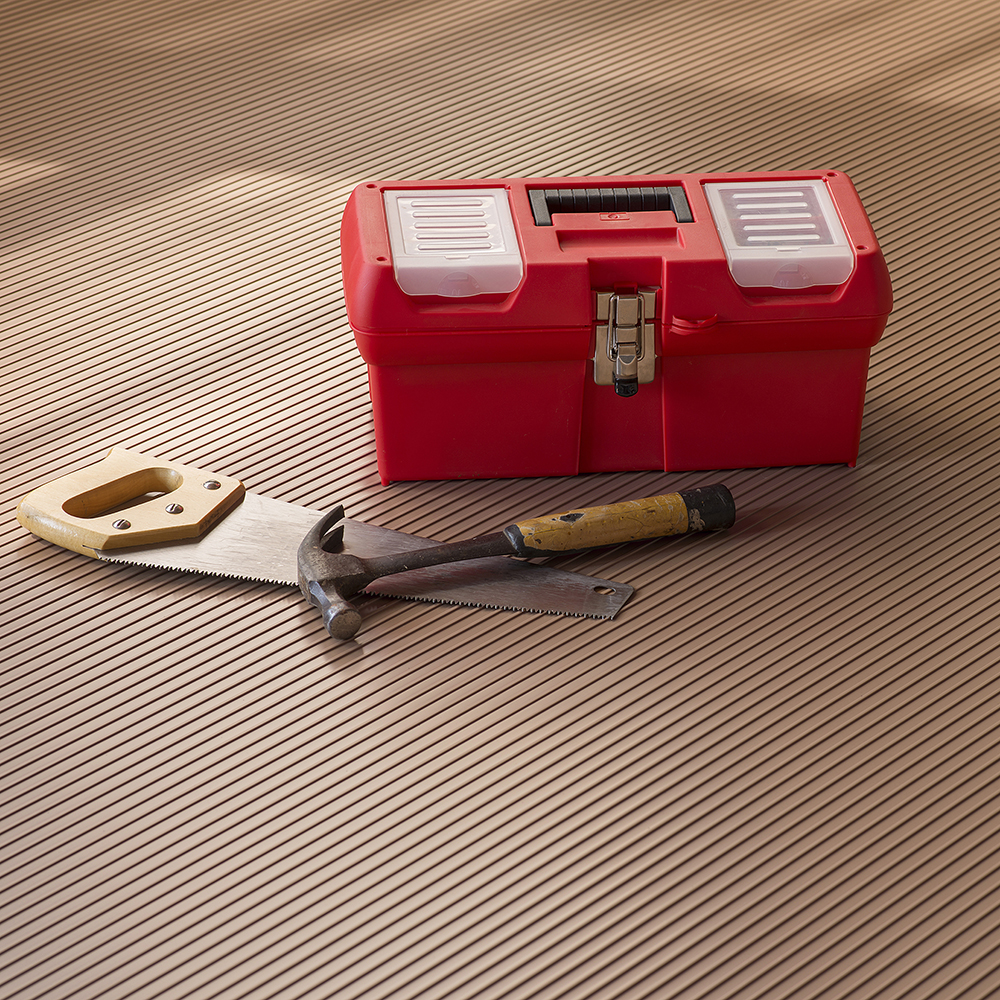
Related Product: G-Floor Ribbed Tread Garage Floor Roll 55 mil x 7.6x17 Ft.
How to Install Garage Flooring Rolls
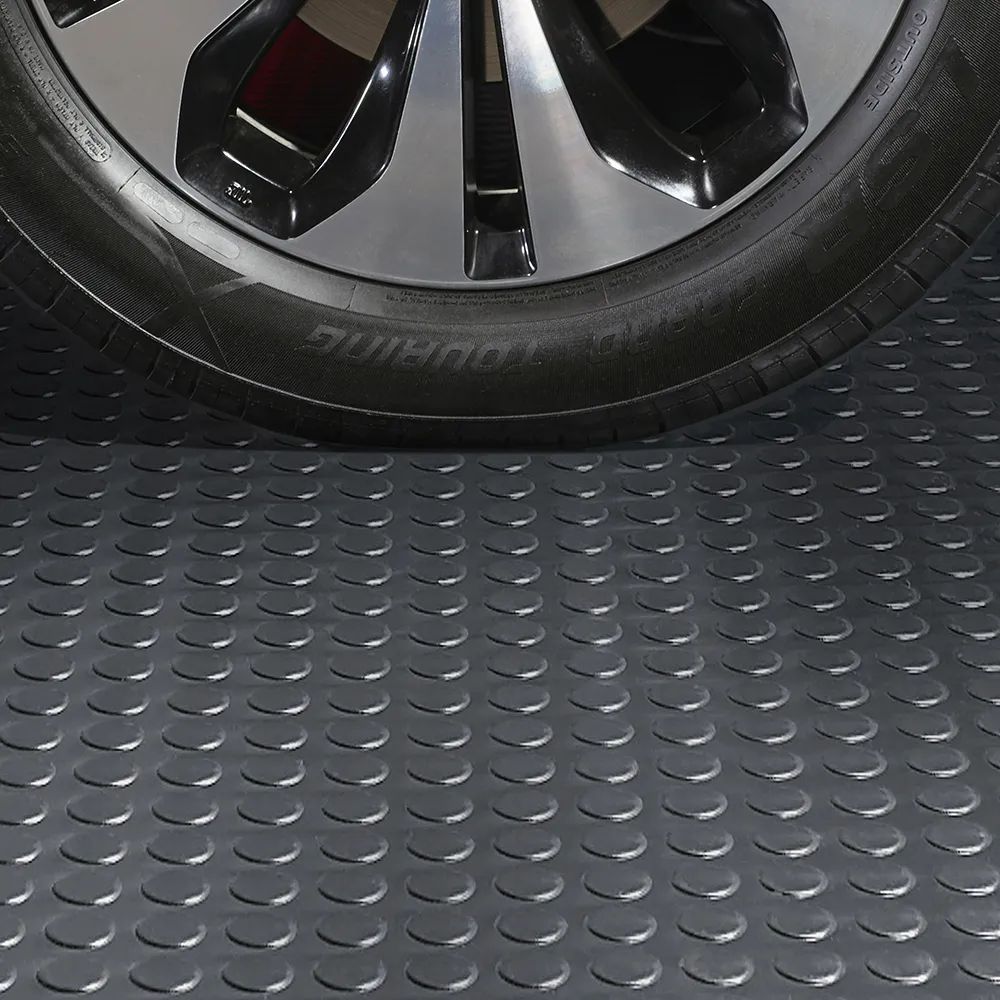
At Greatmats, we’re proud to carry G-Floor Garage Floor Rolls. These garage flooring rolls are waterproof and slip-resistant, plus they resist corrosives, salts, oils, gas, battery acid, brake fluid, and more. They’re also durable and lightweight, making them ideal for use in demanding garage environments while also being easy to install.
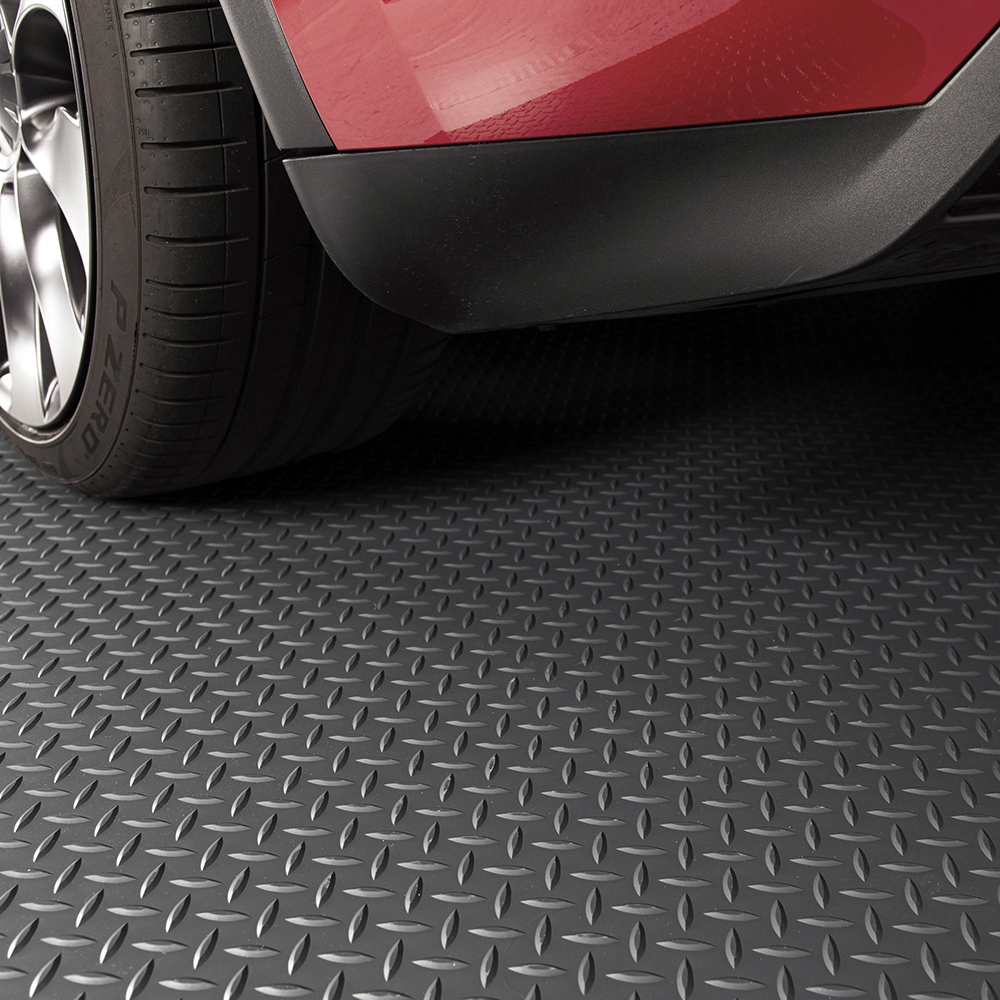
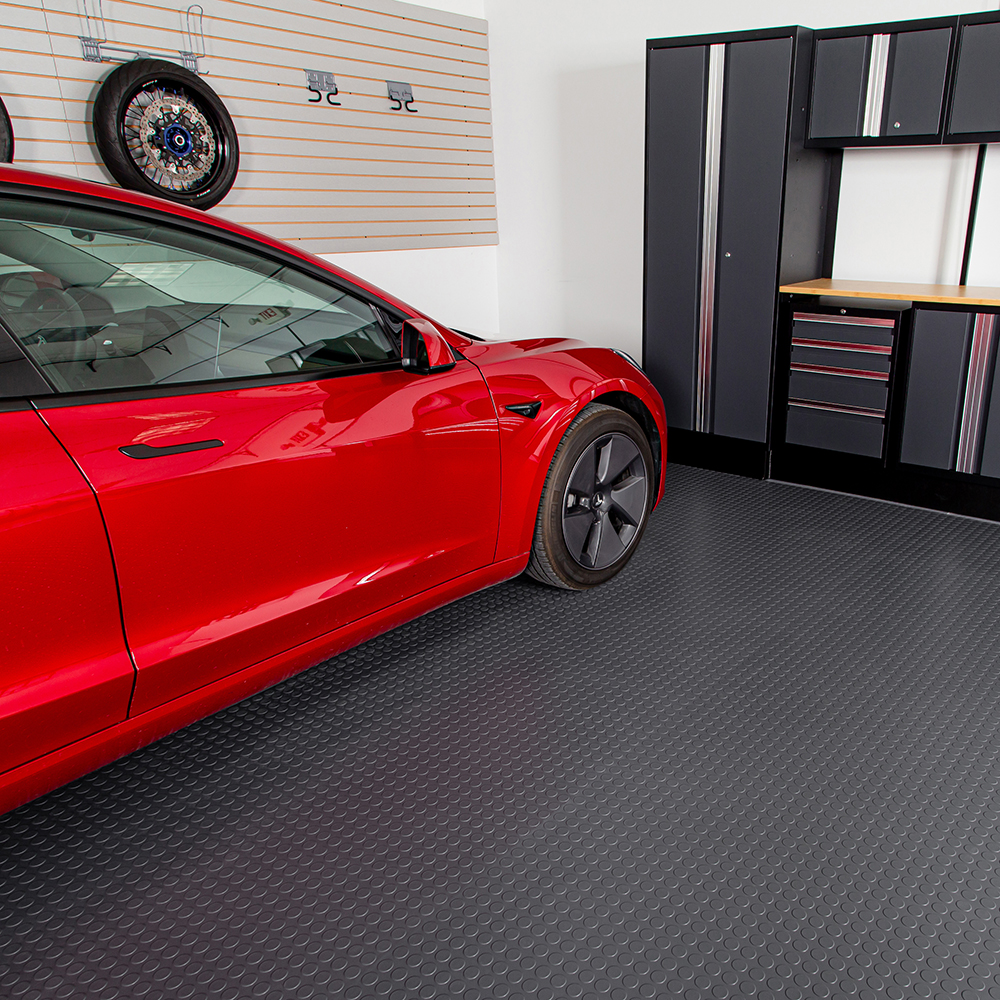
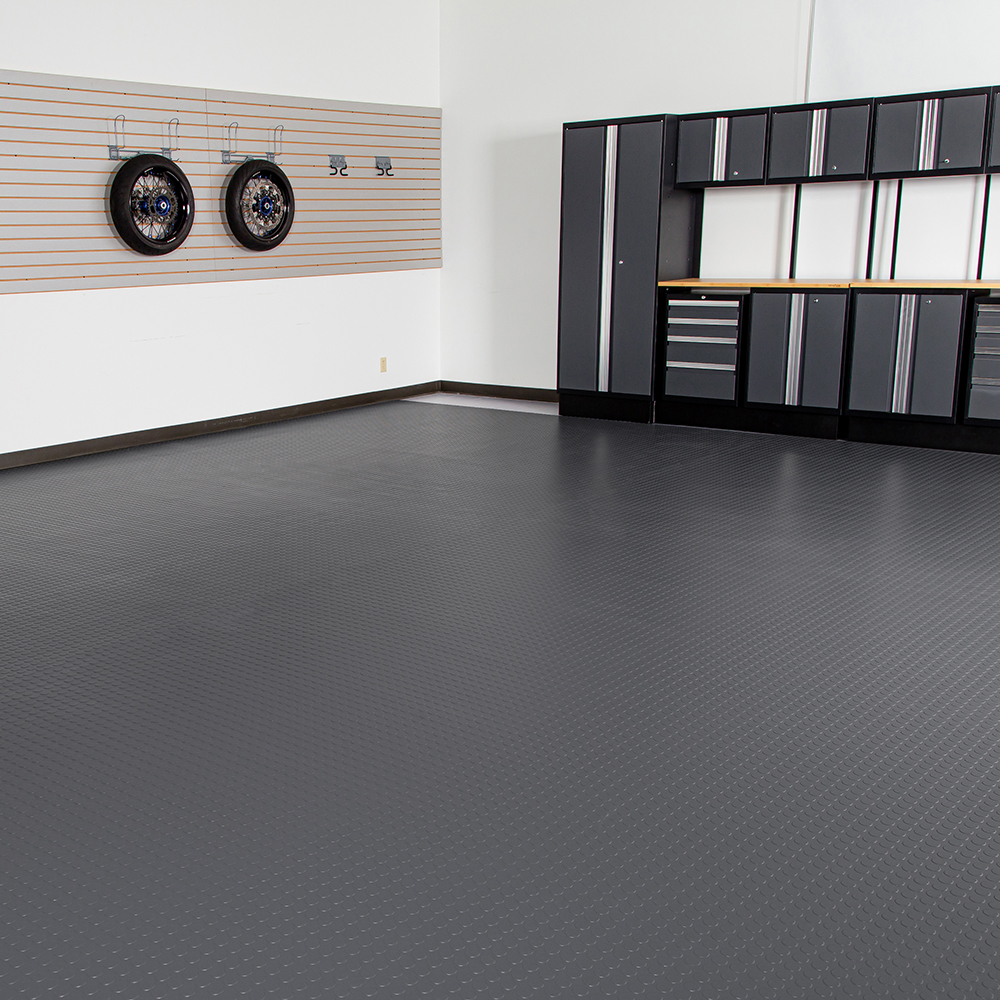
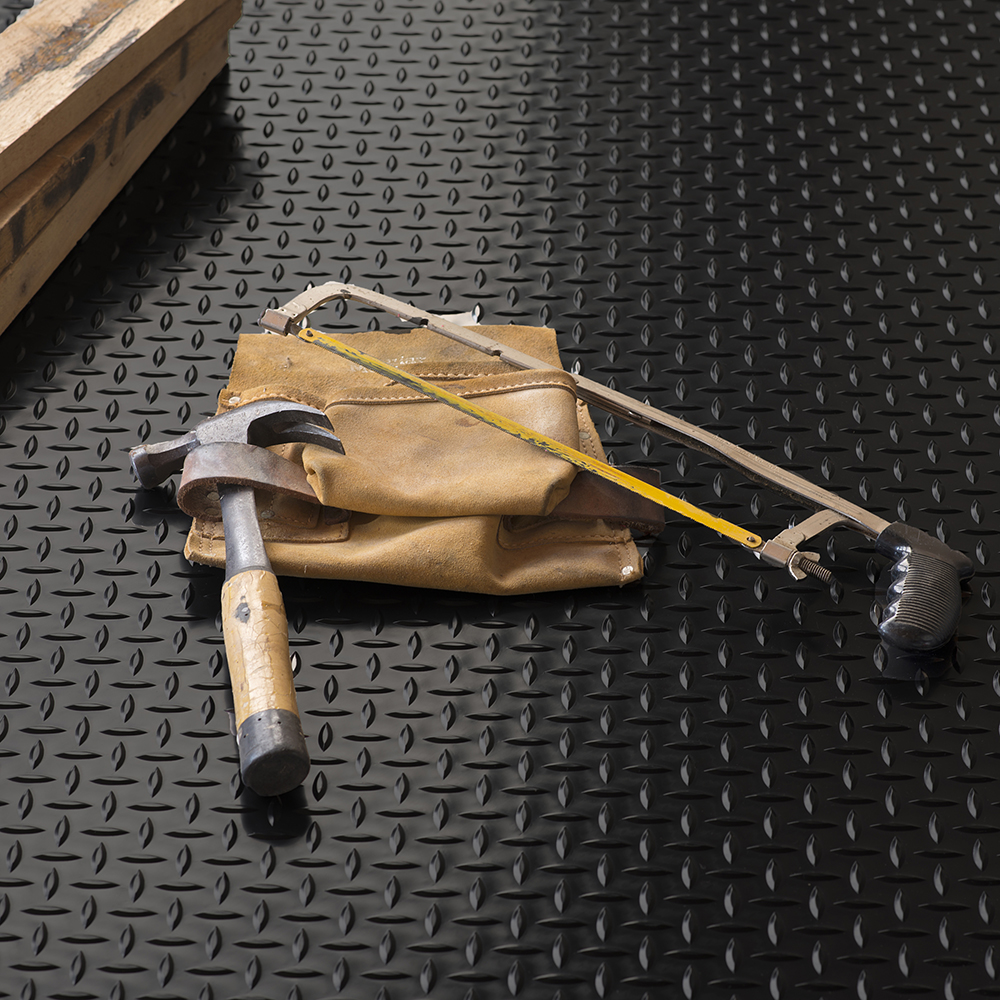
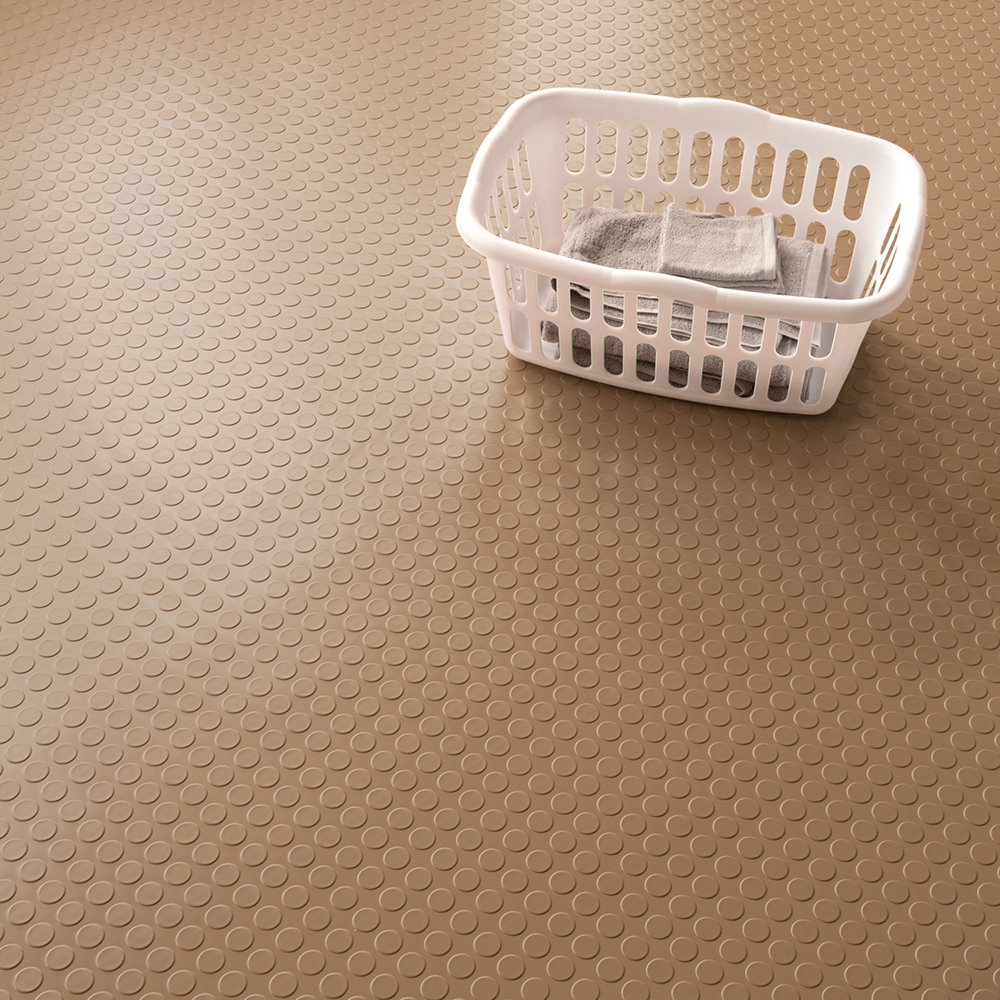
G-Floor garage floor rolls are available in multiple surface tread styles to suit different needs:
Each tread style brings unique benefits, providing options to customize your garage floor for durability, traction, and style.
Whether you want to protect your concrete subfloor or maximize your garage comfort and safety, this vinyl roll is a versatile choice that’s designed for easy installation. These steps will guide you through the installation process.
Determine the Type of Installation
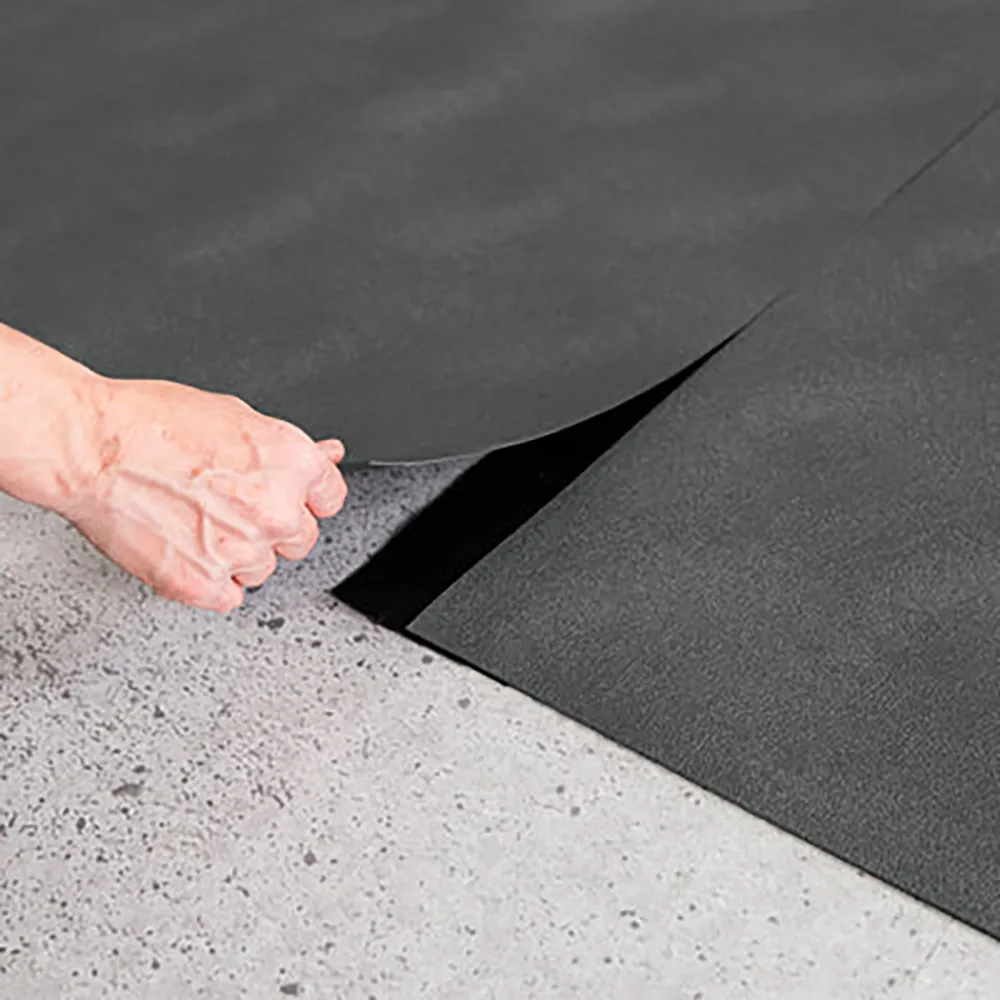
You can choose from several installation patterns. You can use a single roll to create a parking pad, where the sheet roll acts as a garage floor covering only the area where you’ll park a vehicle.
If you want to create a double parking pad installation, covering the space needed to park two vehicles, you can join two rolls with seam tape or G-Floor Center Trim. G-Floor Garage Floor Seam Tape is waterproof and highly durable. It features adhesive on one side and can protect the seam while also preventing the rolls from separating. Alternatively, G-Floor Garage Floor Edge Trim is a waterproof trim with a slot you can use to join the trim to your G-Floor vinyl mats. The trim is made from polyvinyl, so it’s durable and easy to cut to fit with a sharp utility knife.
For larger garages, you can connect three or more vinyl rolls together to create a space accommodating three or more vehicles. For this larger installation, you’ll need to use the G-Floor center trim to keep the rolls in place. Using seam tape can cause the center sheet to buckle.
The above installations are all island installations, in which your flooring roll won’t connect with the walls of your garage. Alternatively, you can perform a wall-to-wall installation using multiple flooring rolls. You can connect the rolls together with seam tape until you can apply adhesive.
Decide If You Need Adhesive
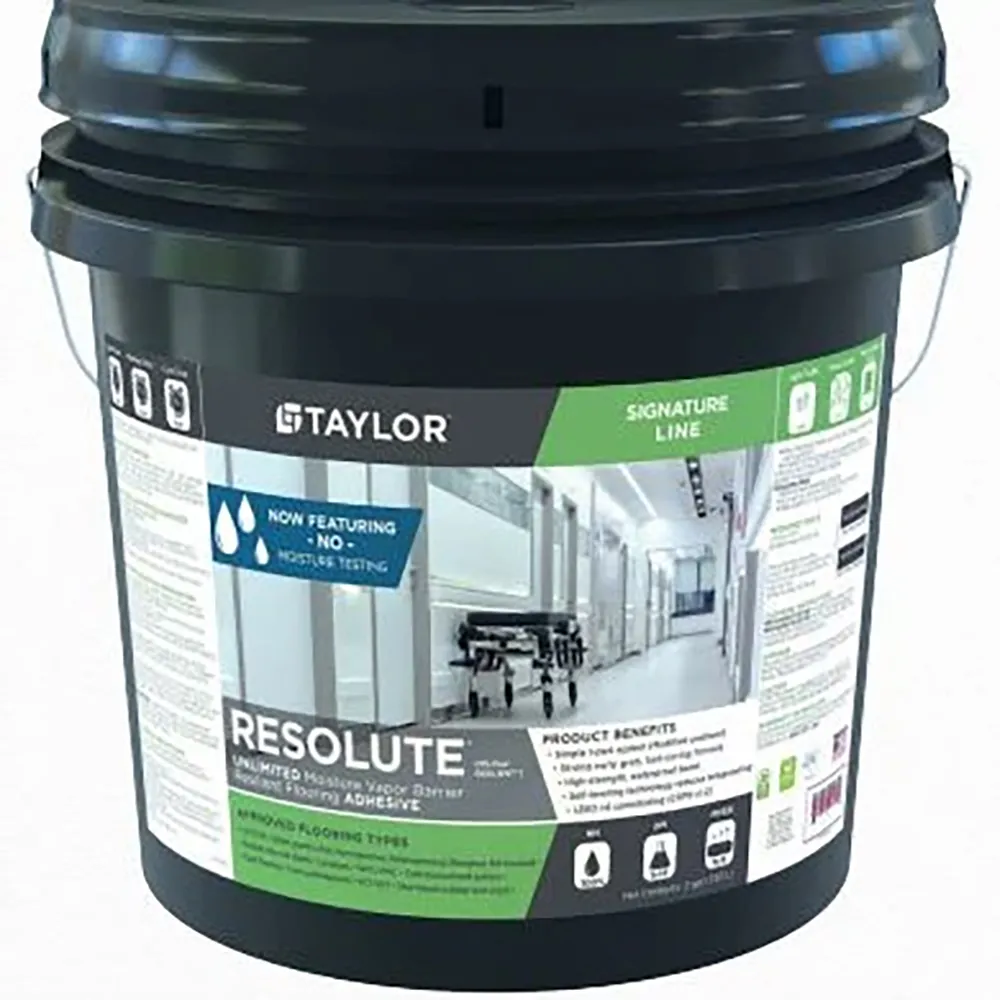
This rolled flooring is designed to be used without adhesive in most installations. The weight of the vinyl roll-out flooring generally holds the mats down, which means you can remove the mats again if needed.
However, there are certain installation types that require adhesive. While the mats are designed for indoor use, they can be used outdoors with an adhesive that reduces contraction and expansion. If installing the mat outdoors, you must fully glue it down with an acrylic-based vinyl adhesive, like the G-Floor Taylor Resolute Multi-Use Adhesive. This adhesive forms a waterproof bond to both porous and nonporous surfaces. It’s easy to use and contains low VOCs.
You will also need adhesive if you decide to install the G-Floor vinyl flooring on the stairs. Since the flooring is pliable and can bend without cracking, it’s suitable for stair installations when fully adhered. G-Floor recommends that you hire a professional installer for a stair installation.
Perform Your Installation
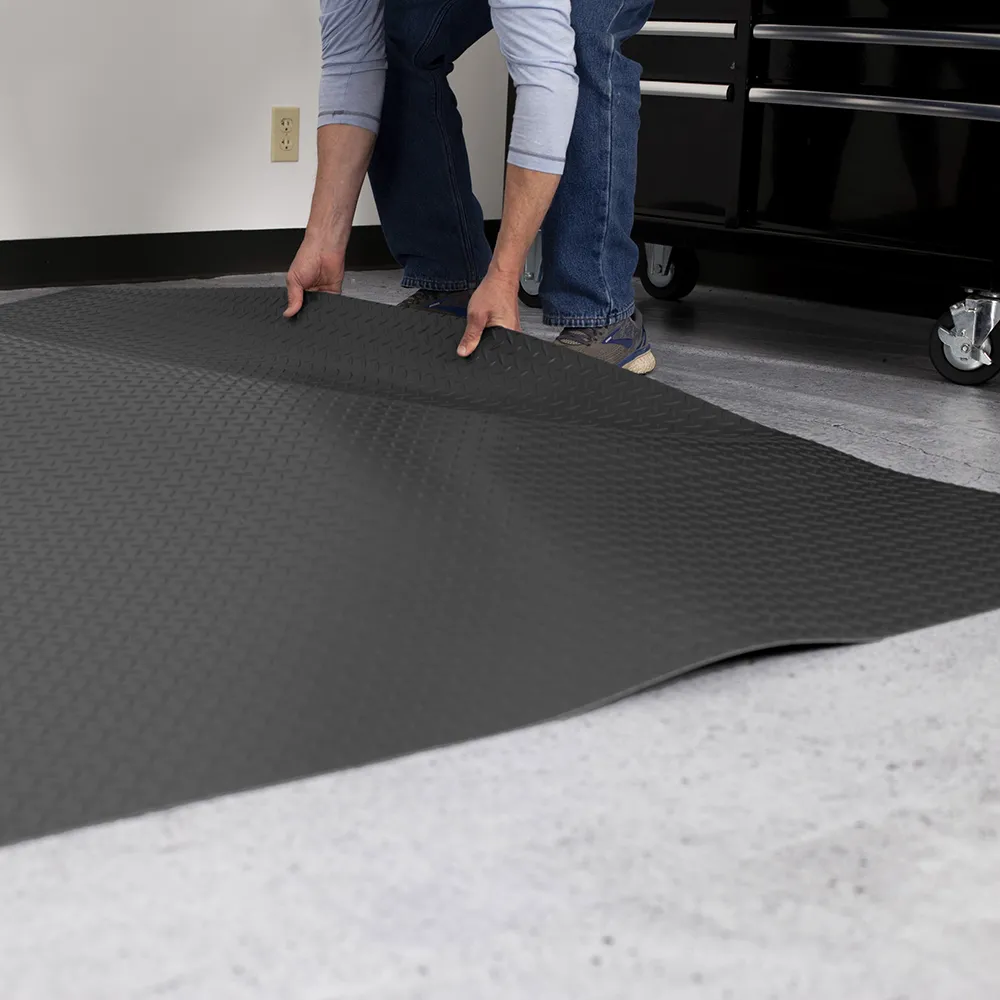
Most garage installations are simple and straightforward. Once you’ve identified the location for your installation, clean the garage floor and remove any debris, like dirt or leaves. It’s essential to make sure that the subfloor doesn’t contain any significant holes or cracks since those imperfections will eventually show through the floor matting. Make any subfloor repairs needed in advance.
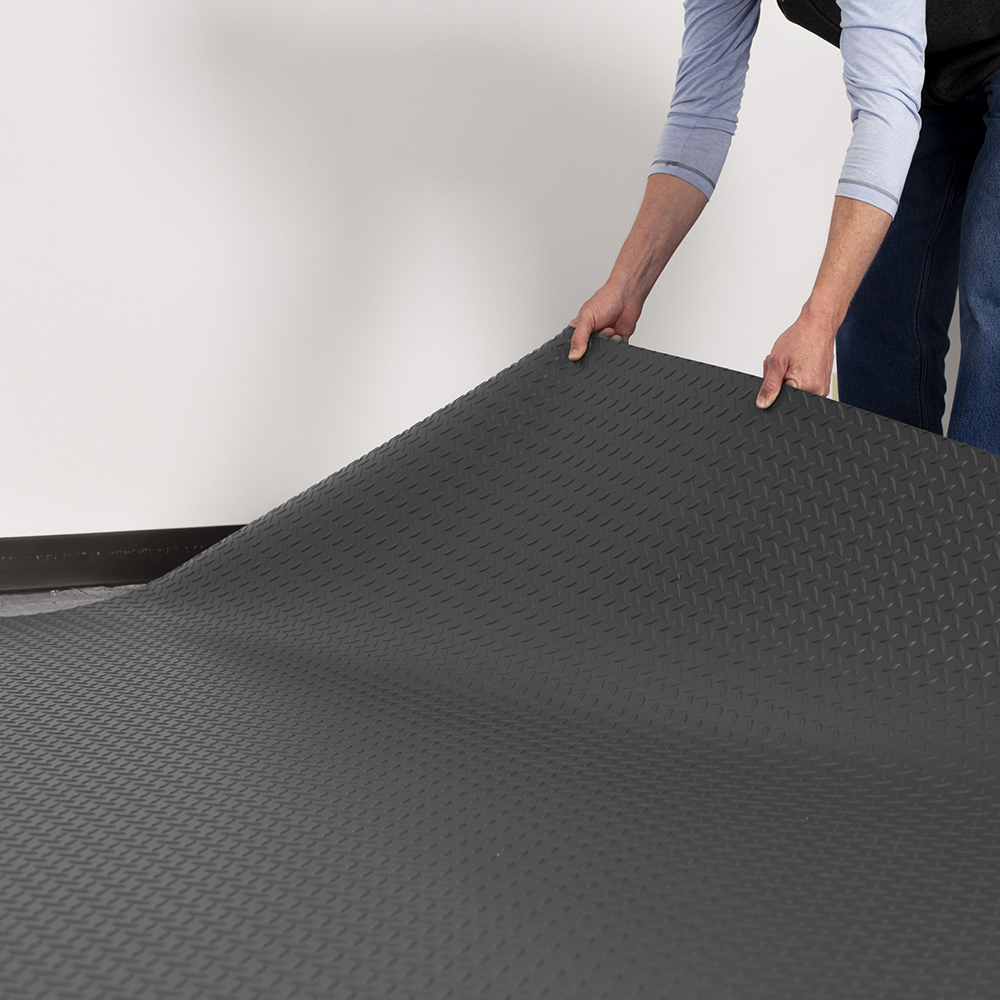
Unroll the vinyl flooring and move it into place. Most of the time, the mats’ weight will keep in place, but you can use double-sided tape on the leading edge of the mat at your garage edge for extra security.
If you need to trim the flooring to fit around obstacles or to butt up against a wall, you can trim it using a utility knife and straight edge. Cut all of your mats to fit the area before connecting them together.
Once your flooring is cut as needed, you can connect the flooring rolls together using seam tape or trim. Seam tape or trim is suitable for connecting two mats together, but if you connect three or more mats together, you should use the trim instead of the seam tape.
