Is Installing Laminate Flooring Difficult?


Related Product: Max Tile Raised Floor Tile 5/8 Inch x 1x1 Ft.
Is Installing Laminate Flooring Difficult?
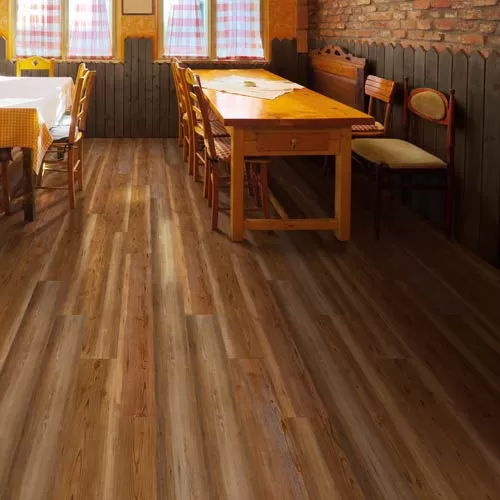
Many people will find it to be relatively easy to install laminate flooring. It really is a great choice for a DIY project. Unlike other flooring solutions, laminate does not require grout, mortar, or other adhesives to set up while you’re working. It can also be applied over numerous different types of subfloors, without the need to remove existing concrete, ceramic tile, OSB, existing vinyl, or hardwood, and some types can even be installed over carpet. Unlike traditional hardwood, many laminate flooring products are considered to be floating, which means they will not have to be nailed or glued down to an existing subfloor, so it’s also a great flooring solution for old or uneven subfloors.How To Prepare Before Installing Laminate Flooring
1. Clean the floor. It is imperative that the existing subfloor is thoroughly cleaned. Dirt, dust, and debris can damage your laminate floor, and it can cause the floor to be uneven.- Sweep, vacuum, and mop the floor.
- If there are pet or other stains, make sure to clean those with a scrub brush.
- If there is any mold or mildew, deep clean this area with bleach.
- Repair any large holes or divots.
- Make sure the floor is completely dry before beginning the installation process.
2. 72 hours prior to the installation, make sure you bring the laminate flooring into the space in which it will be installed. This will give it time to acclimate to the room’s temperature. Make sure to check the manufacturer’s installation instructions, as some products may require more time to acclimate, while other products may need less.
3. Remove the baseboard so that you can install the laminate flooring up to the wall. This will result in a fantastic finished look.
Installing Laminate Flooring
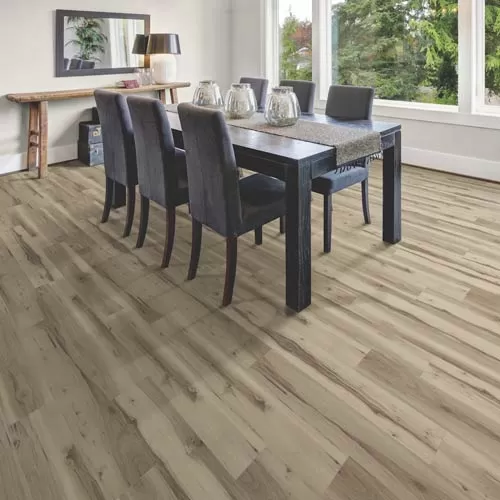
Installing laminate flooring is different for each product, but the same basic principles apply. You will want to begin by identifying the direction in which the flooring will be laid. It can be installed in any direction, but most people prefer to install planks running parallel to the longest wall in the room or in the direction in which light enters the room.There are many different fabulous types of laminate flooring products available at Greatmats, all of which are extremely easy to install.
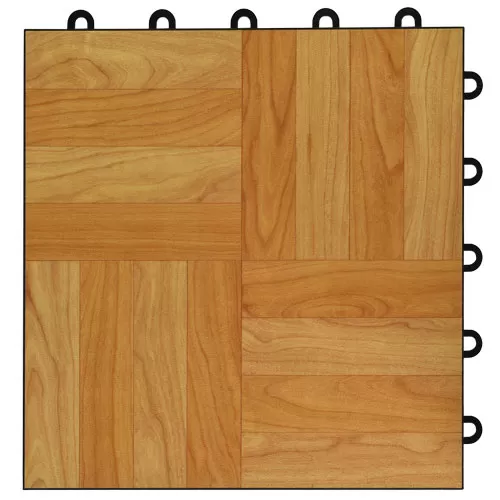
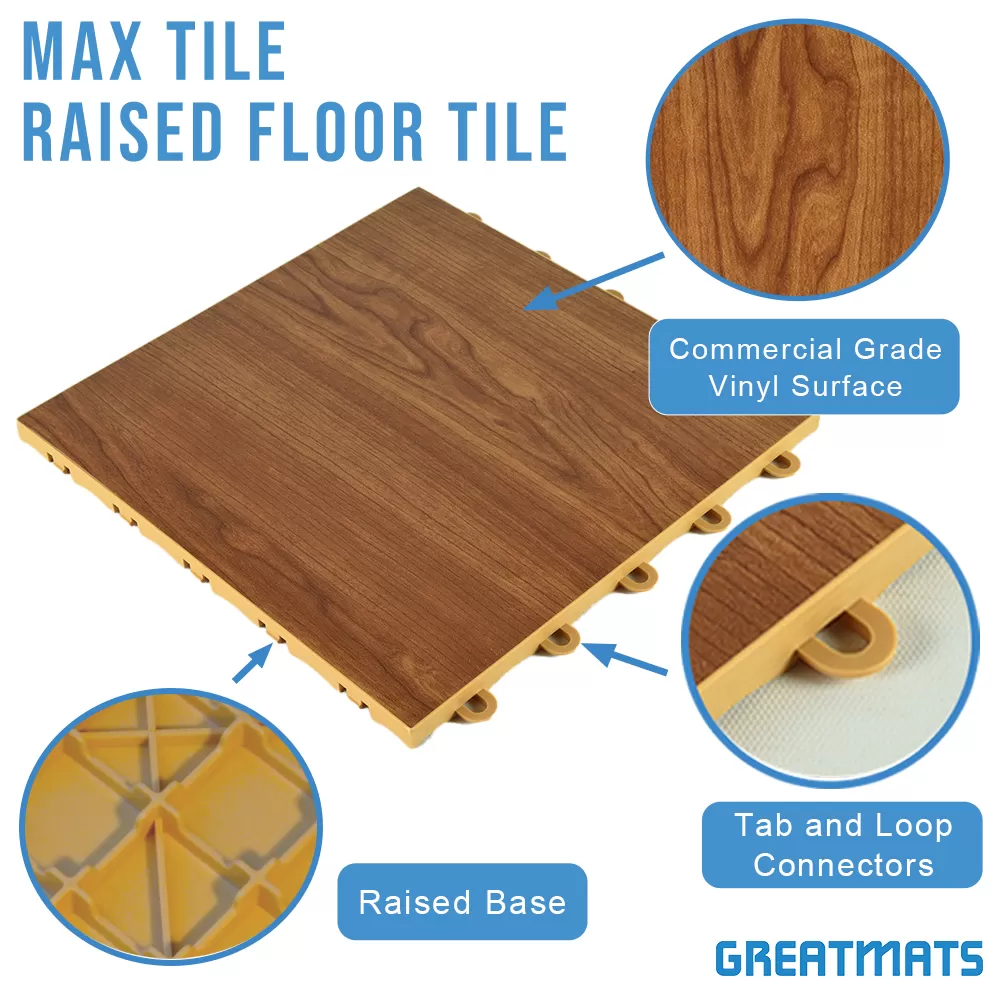
For example, installing laminate flooring that comes in a raised modular design is among the easiest to complete. The Max Tile Raised Flooring, one of the most popular and versatile products at Greatmats, comes in cartons of up to 20 tiles, which would cover 1 square foot per tile. It can be installed over virtually any indoor subfloor, and it’s a breeze to install for home and athletic use by following this step-by-step method:
- Start by cleaning your floor of dirt and debris.
- Gather any tools you will need.
- If using a rubber underlayment, roll that out and lay it flat.
- To start your installation, begin by placing a tile in the corner and working out in a triangle pattern.
- The tiles should snap together easily. Just lay one on top of the next, and step on it to secure it into place.
- Always install the tiles where you’re laying the nub on top of the loop.
- When you have laid the tiles and you reach a wall, and you can’t lay a full tile, it’s time to cut your tiles to finish the row.
- A power saw works best to cut. Wear safety goggles when using power tools.
- Now, take your cut tiles to finish the layout. You can put your baseboard up to complete the look of the room.
- It’s as simple as that!! Enjoy your new floor that is raised to prevent mold and mildew and has a commercial-grade vinyl finish that will look and perform well for years to come.

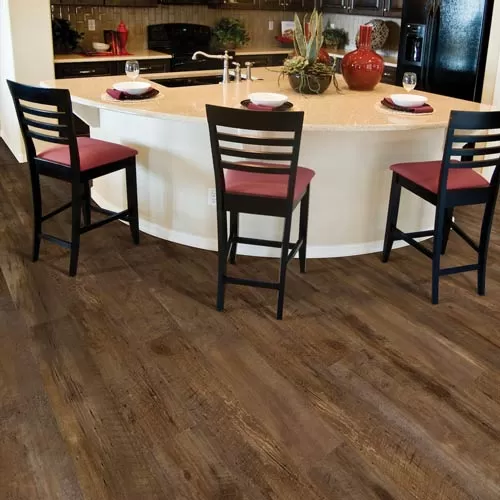
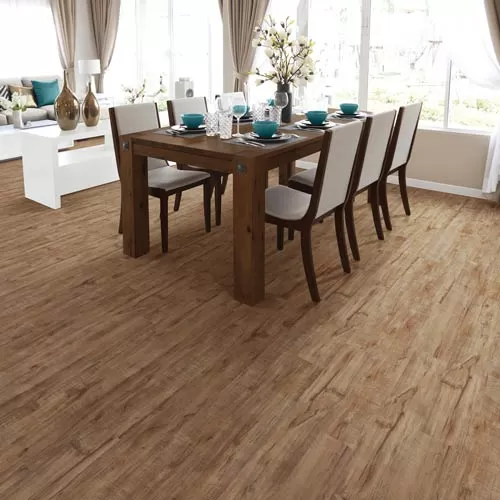
Installing the Magnitude Premium Laminate LVP Plank product is also a relatively easy process. This product does not require an underlayment, and no acclimation of the subfloor is needed. Each of the individual planks is 7 inches wide by 48 inches long and 0.2 inches thick with a 0.51mm wear layer, and each case of 10 planks covers 23.36 square feet. The installation process will go smoothly if the following steps are followed:
- Prepare the existing subfloor by thoroughly cleaning the floor with a broom or vacuum and mop.
- Fill in any holes or cracks that could otherwise cause damage to the bottom of the flooring. Use a Portland Cement-based floor patching material such as W.W. Henry 547 Unipro™, DAP “Webcrete 98”, Maipei “PlaniPatch”, Ardex “Featherfinish”, or similar.
- Gather the tools that you may need and remove the baseboard.
- Once the subfloor is clean, prepped, and completely dry and your baseboards are removed, you’re ready to begin installation - which is as simple a dry lay, click together process.
- Install the vinyl parallel to the longest wall to reduce the amount of cutting. This is also a popular technique to make the room look bigger.
- Lay the first plank and install the second by connecting the tongue and groove and snapping it into place.
- Follow this method - attaching planks from row to row - until the room is finished.
- You will enjoy a finished floor that is durable, attractive, hygienic, scuff-resistant, stain-resistant, and easy to clean. It’s made of Virgin PVC with a decorative printed film which displays a decorative wood design. It features a robust wear layer that prevents gouges, rips, tears, and indentations.

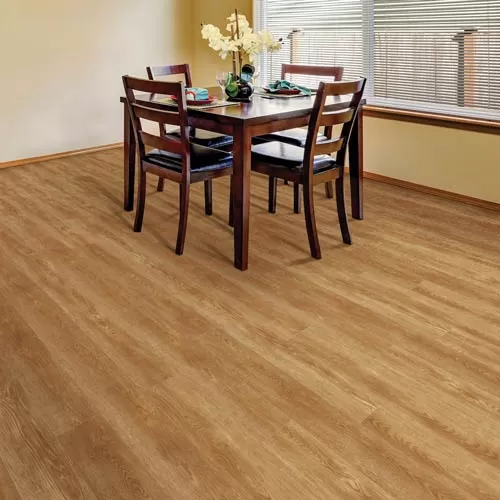
Latvia Cork Laminate flooring is another laminate solution that is easy to install with its CorkLoc System. Each carton of 8 tiles will provide 23 square feet of coverage. Once your floor is cleaned and prepared using the same procedures as the first two featured products, you’re ready to start installing.
- Starting from the right side of the room, the cork boards are simply latched down. Just use a “brick bond” - lifting the new plank and the plank laid previously in the same row on the leading edge, press into the previous row of boards, and lower to the floor.
- Continue this process until you’re finished. It’s that simple!
- Gather the tools that you may need and remove the baseboard.
- Enjoy a finished flooring surface that is abrasion-resistant and water-resistant. It will be comfortable and shock-absorbing for bare feet, and it reduces the appearance of scratches, scuffs, rough spots, and other imperfections, as well. It’s an eco-friendly product with several design choices from which to choose. It has excellent thermal insulating properties, as well.
What Is The Cost To Install Laminate Flooring?
As previously detailed, the process involved in installing a laminate floor is a relatively simple one that can be done without unnecessary labor costs that come with professional installers. Choosing a laminate flooring product from Greatmats that offers a DIY install will keep the cost of installing laminate flooring very low.When trying to determine the cost of installing laminate flooring, there are certain things to consider.
- The size of the space where the installation will take place. It’s important to have an accurate measurement of the room. Each square foot of your space will add to the installation cost as it will require additional flooring. To determine the square footage of your space, simply measure the length of the room and multiply it by the width of the room.
- The base price of the product. Once you have determined the size of the room you will be covering, select your product. Some products, like the Max Tile, are priced per individual tile. The Max Tile product will cost about $6.56 per tile, which provides 1 square foot of coverage. To determine the base price of the product, multiply the $6.56 price by the number of square feet you will be covering.
- Tax & Shipping. Remember to budget for sales tax and shipping costs, which vary from product to product. Most laminate flooring can ship via ground delivery. Larger orders may benefit from freight shipping.
- Determine if any underlay or adhesives will be needed. If so, use the measurement you have already identified to figure out how much of either product you will need.
- Prep costs. If you will need to do a lot of prep work to the subfloor - repairs of cracks and holes, deep cleaning products, and leveling agents all add to the bottom line.
- Tools. Determine if the product you choose can be easily cut using a utility knife, or, if you will need to purchase or rent a table saw or similar (if you don’t already have one). You will also need a straight edge, tape measure, and other items that are affordable, but still add to the final cost to install laminate flooring.
- If you don’t want to install the flooring yourself, you can expect to pay anywhere between $1.50 and $2.50 per square foot to have an installer do the work for you.
Greatmats - For Your Laminate Flooring Needs
 The many laminate flooring options at Greatmats are affordable and easy to install. Regardless of the specific product you select, you can feel confident knowing that you will enjoy unmatched quality, pricing, and service when you purchase from Greatmats. If you have questions about the cost, installation process, or specification of any of the laminate flooring options available, simply reach out to the friendly customer service team. They will work closely with you to determine the best product to suit your installation, budget, and design preferences and needs.