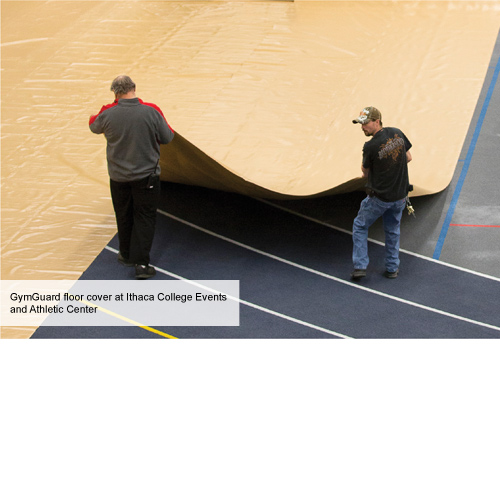
You’ve made a significant investment in your gym floor. That’s why you’ve decided to protect that investment by purchasing vinyl gym floor covering. But now that you have it, you’re asking yourself, ''How do I install my gym floor covering?''
Let’s take a look at the process using a safety storage rack.
Installing Gym Floor Covering Using a Rack
When installing a vinyl gym floor covering roll with two people, you should be able to cover most gyms in about a half hour.
1. Place Storage Rack in Corner
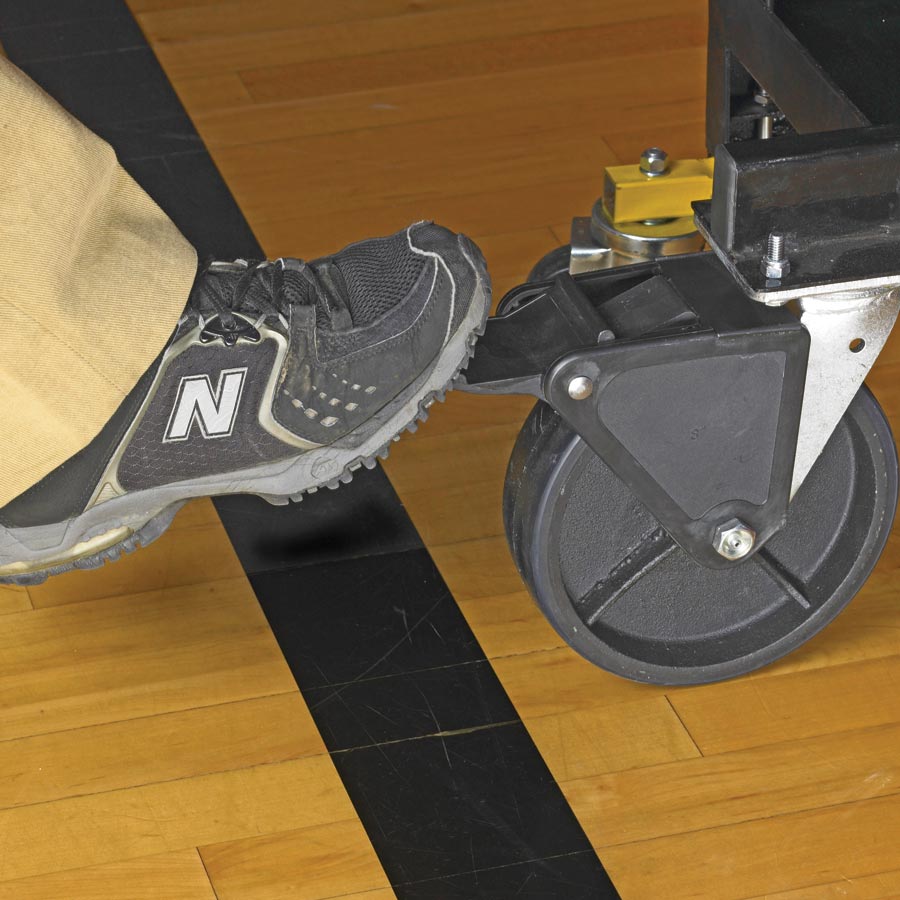
Place your storage rack in a corner of the gym and lock the wheels.

2. Unroll Vinyl Cover off Storage Rack
With one person on each side of the rack, each person should grab a corner of the gym floor covering and pull it off the rack by walking the full length of the floor, letting it unwind as you walk. Pull the covers off at a reasonable walking speed.
When unwinding the covers, start with the top two rollers on one side of the rack first. Then rotate the rack and start with the top two rolls on that side. Then repeat the process with each additional roll until your floor is completely covered.
Any time winding is stopped and before the crank handle is released from the person's grip, the screw on the retaining bar should be tightened to prevent the roller from moving. This is especially important on the upper-level rolls, where there is more force for reversing the roll. If the roll is not locked in place, the handles can spin rapidly as the cover unwinds.

3. Move Rack to the Next Row and Repeat
Once you’ve reached the end of the first roll, unlock the wheels, being sure that the safe bar and collars are secure. Roll the rack sideways about 10 feet until you have about a 6 to 12-inch overlap over the first sheet of vinyl.
4. Tape Down the Seams
We recommend taping down the overlap onto a layer of vinyl below it. This will lessen tripping hazards and help prevent liquids, dirt, etc. from working their way down to your gym floor if they happen to get under the edges of the vinyl gym floor covering. Use a handheld tape dispenser or walk-behind dispenser to apply tape.

Notes About InstallationThe 6 to 12-inch overlap between each strip helps to ensure dirt and debris do not get underneath. The gym floor cover tape is specially formulated to not leave behind any sticky residue when removed. Use of other tapes could cause damage to the cover.Pulling up a Vinyl Gym Floor Covering
The basic way to remove the vinyl cover is the installation process but in reverse with a couple of additional processes to note.
- Once your event is over, sweep off and spot clean your gym floor covering if necessary.
- Remove and dispose of the gym floor tape.
- Fold the last 10 feet of the first section back onto itself and ruffle the section all the way down to break the seal from the floor.
- Center the storage rack over the end where the cover is folded back and lock the wheels.
- Fill the bottom of the rack first.
- Clip the end of the cover to the roller with 3 white plastic C-clips, one on either end and one in the middle.
- Remove the endcaps from the roller and insert the hand cranks in each side.
- Start winding up the cover. Each person should use their free hand to keep the vinyl centered.
- After the strip has been rolled up, tighten the screw over the yellow retaining bar to keep the roller from unwinding. Replace the endcaps.
- Then repeat the process for each section.
Alternatively, a power winder can be used instead of hand cranks. This still requires two people. One person runs the power winder while the second person guides the vinyl onto the roller.
Note: The bottom two rollers should be filled first. Then turn the rack to the other side and fill the bottom two racks. Continue rolling covers on upper rollers until complete. The weight of the covers on the bottom rollers helps to keep the rack stable.
With Optional Brush Assembly
There is also a brush assembly that attaches to the storage rack, which sweeps the trash and debris off the vinyl cover. When using the brush assembly, you will want to start the winding process by placing the vinyl cover under the brush head and then onto the roller.


